


Ask any experienced decorator what separates a masonry paint job that lasts fifteen years from one that needs redoing after three, and the answer almost always comes back to preparation rather than the paint itself. A quality product like Sandtex Smooth Masonry Paint can only perform as well as the surface it's applied to. This guide covers exactly what proper preparation involves, cleaning, treating mould, filling cracks and knowing when (and when not) to use a stabilising solution, so your paint job gets the full lifespan it's capable of.
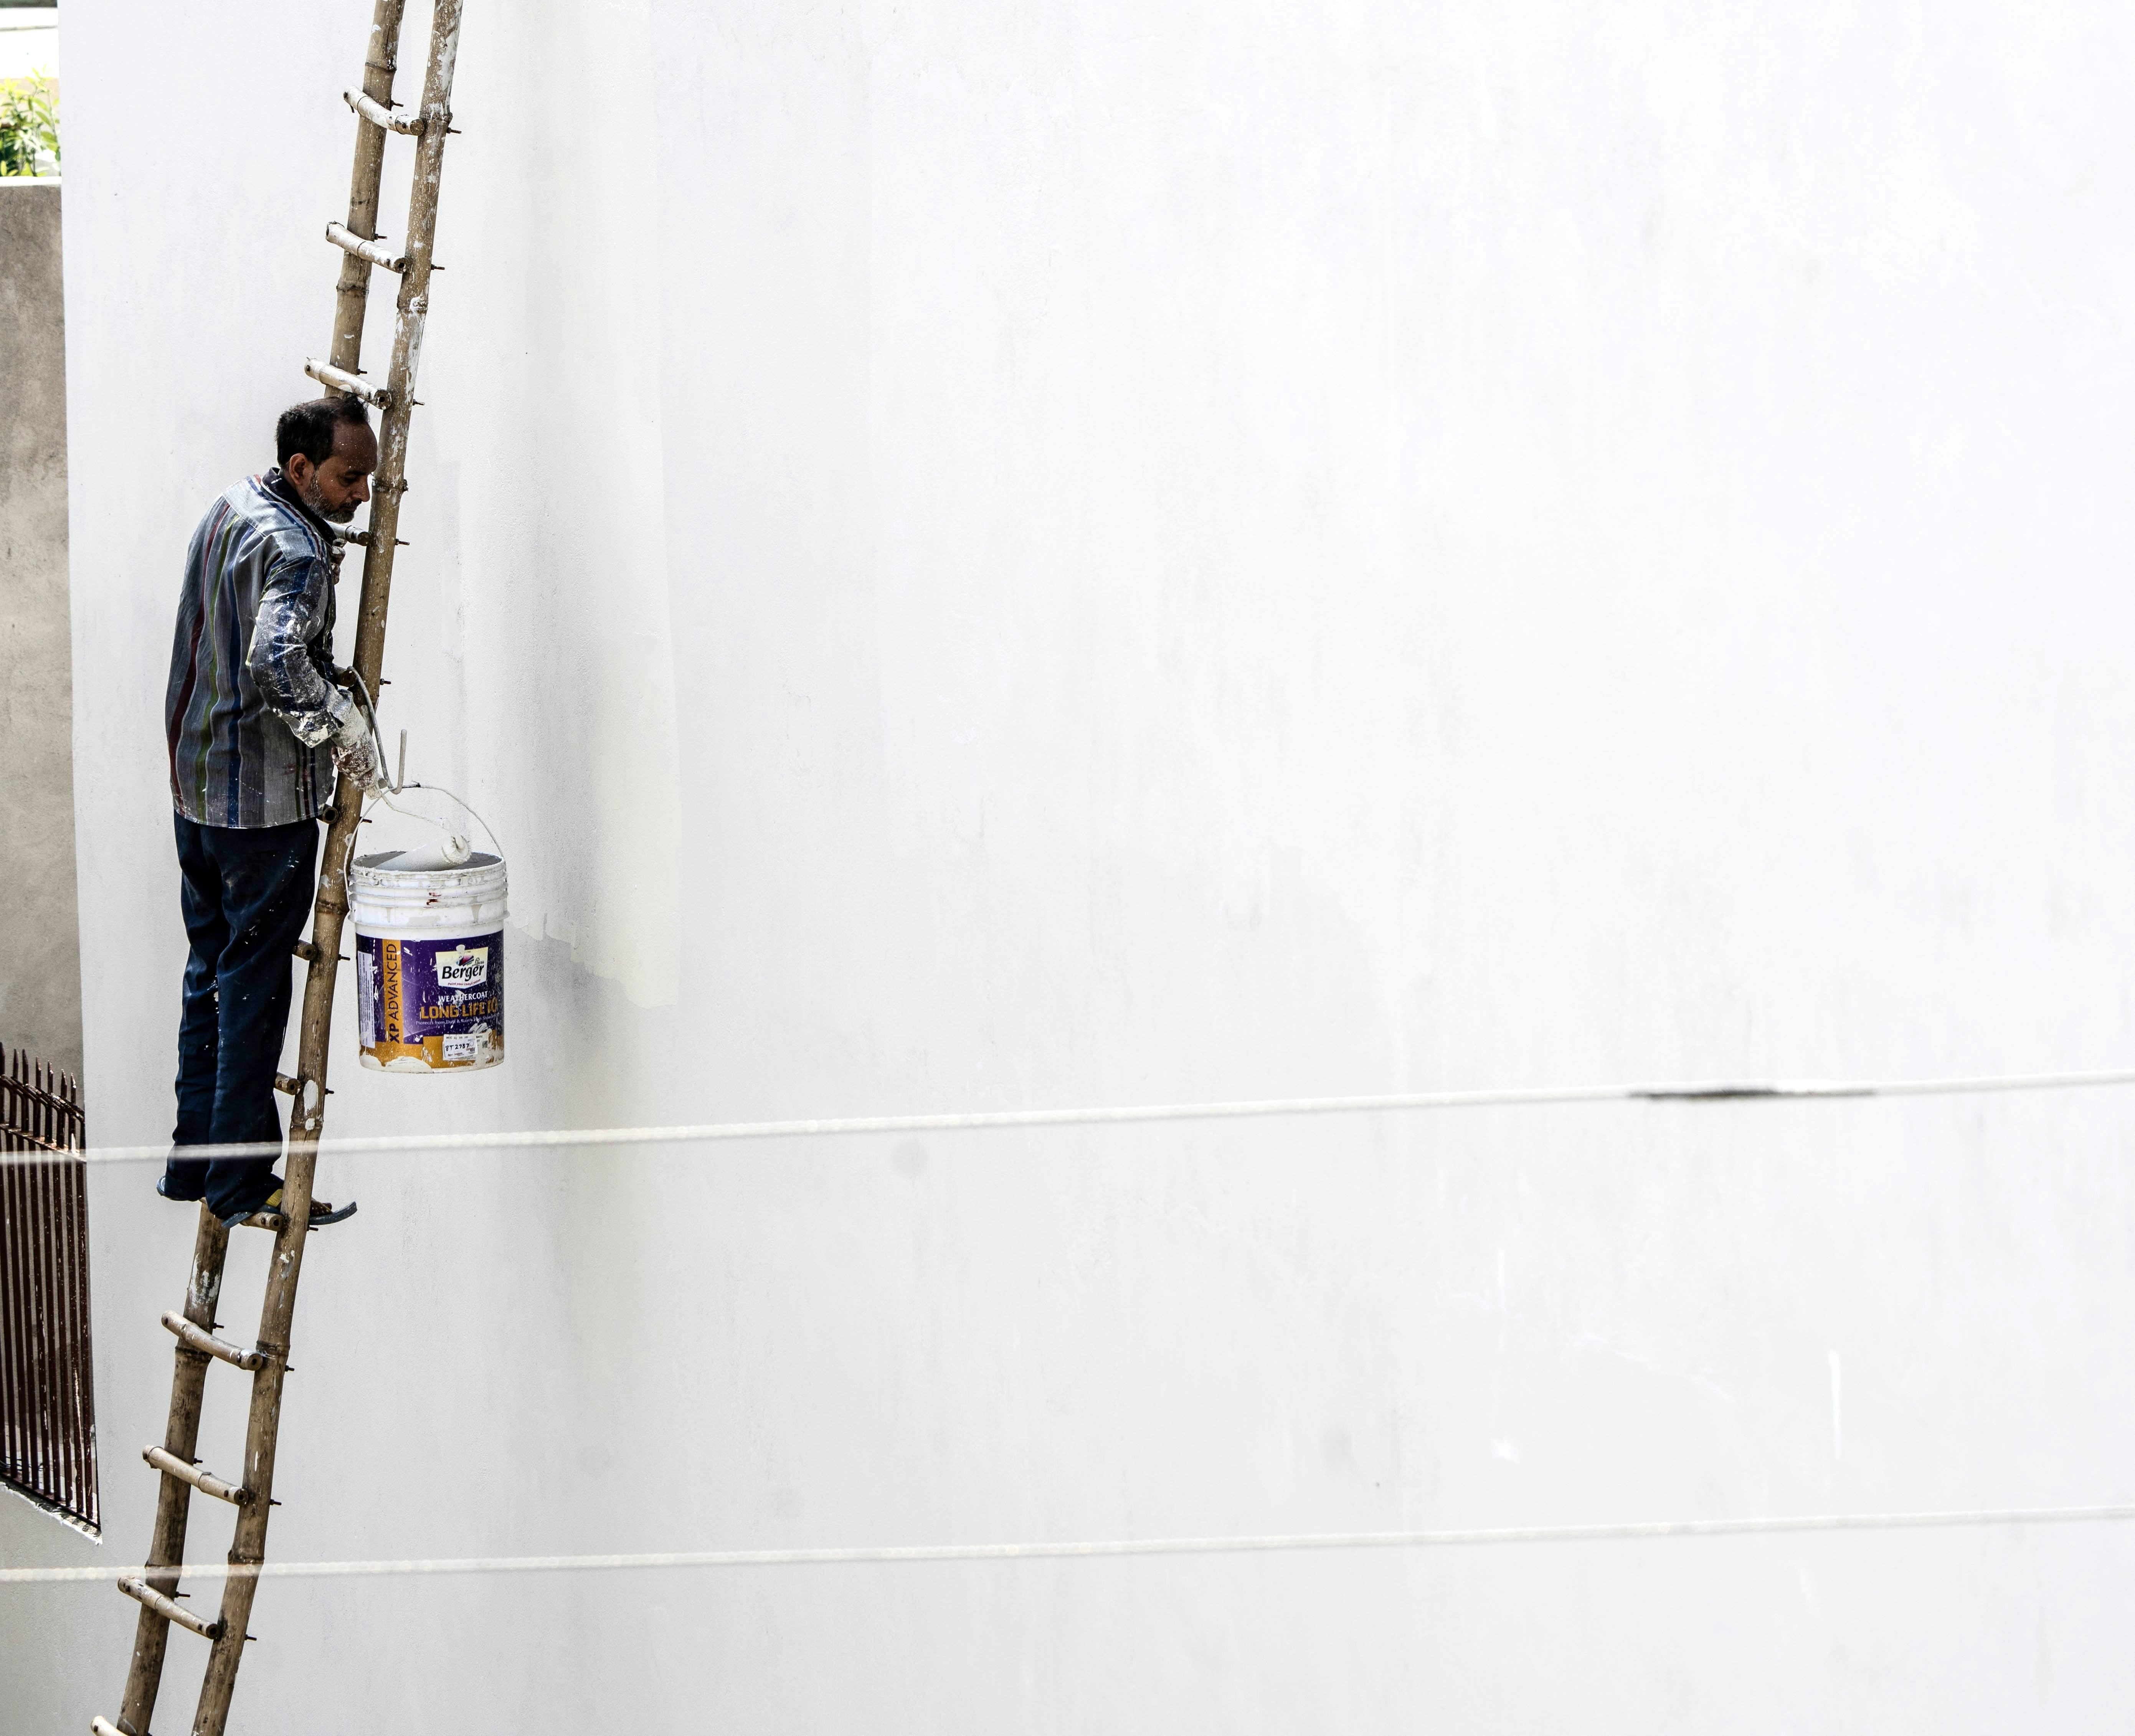
Why prep matters more than the paint itself
It's a slightly uncomfortable truth for anyone eager to get to the visible, satisfying part of a paint job, but the single biggest factor in how long an exterior paint job lasts isn't the brand of paint, it's how well the surface was prepared before the first coat went on. Two identical tins of the same masonry paint, applied to the same wall type, can produce results years apart in longevity purely based on prep quality. Skimping here to save an afternoon is one of the most common false economies in home DIY.
Start with a proper inspection
Before buying paint or prep products, walk the whole wall, ideally on a dry day with good light, and make a mental (or written) list of what you're dealing with. Look for loose, flaking or hollow-sounding render, hairline and larger cracks, green, black or grey staining from mould, algae or lichen, chalky or powdery residue that comes off on your hand when you touch the wall, and any areas of previous paint that are peeling or blistering. Each of these needs a different fix, and doing this walk-round first means you buy the right products in one trip rather than discovering a problem halfway through the job.
Cleaning the surface
Every wall needs a clean before painting, even one that looks reasonably tidy from a distance. Start with a stiff brush or broom to remove cobwebs, loose dirt, moss and flaking material. For grimier walls, a low-pressure wash (a garden hose and brush is often enough, a pressure washer works but should be used carefully to avoid forcing water into cracks or damaging soft or old render) will lift ground-in dirt that a dry brush won't shift. Whatever method you use, let the wall dry completely before moving on to the next step, painting over a damp surface, even one that looks dry, traps moisture under the new coat.
Treating mould, algae and lichen
This is the step most commonly skipped, and it's the one that causes the most disappointing results. Mould, algae and lichen are living organisms, not just surface staining, and simply painting over them doesn't kill them, it just gives them a fresh, damp surface to keep growing on underneath. Within a year or two, the same green or black staining typically reappears, showing through the new paint film. Treat any affected areas with a proper fungicidal wash, following the product's instructions for dwell time, and rinse if the instructions call for it. Let the wall dry fully before you paint, this can take longer than you'd expect, particularly on shaded, north-facing walls that don't get much direct sun or airflow.
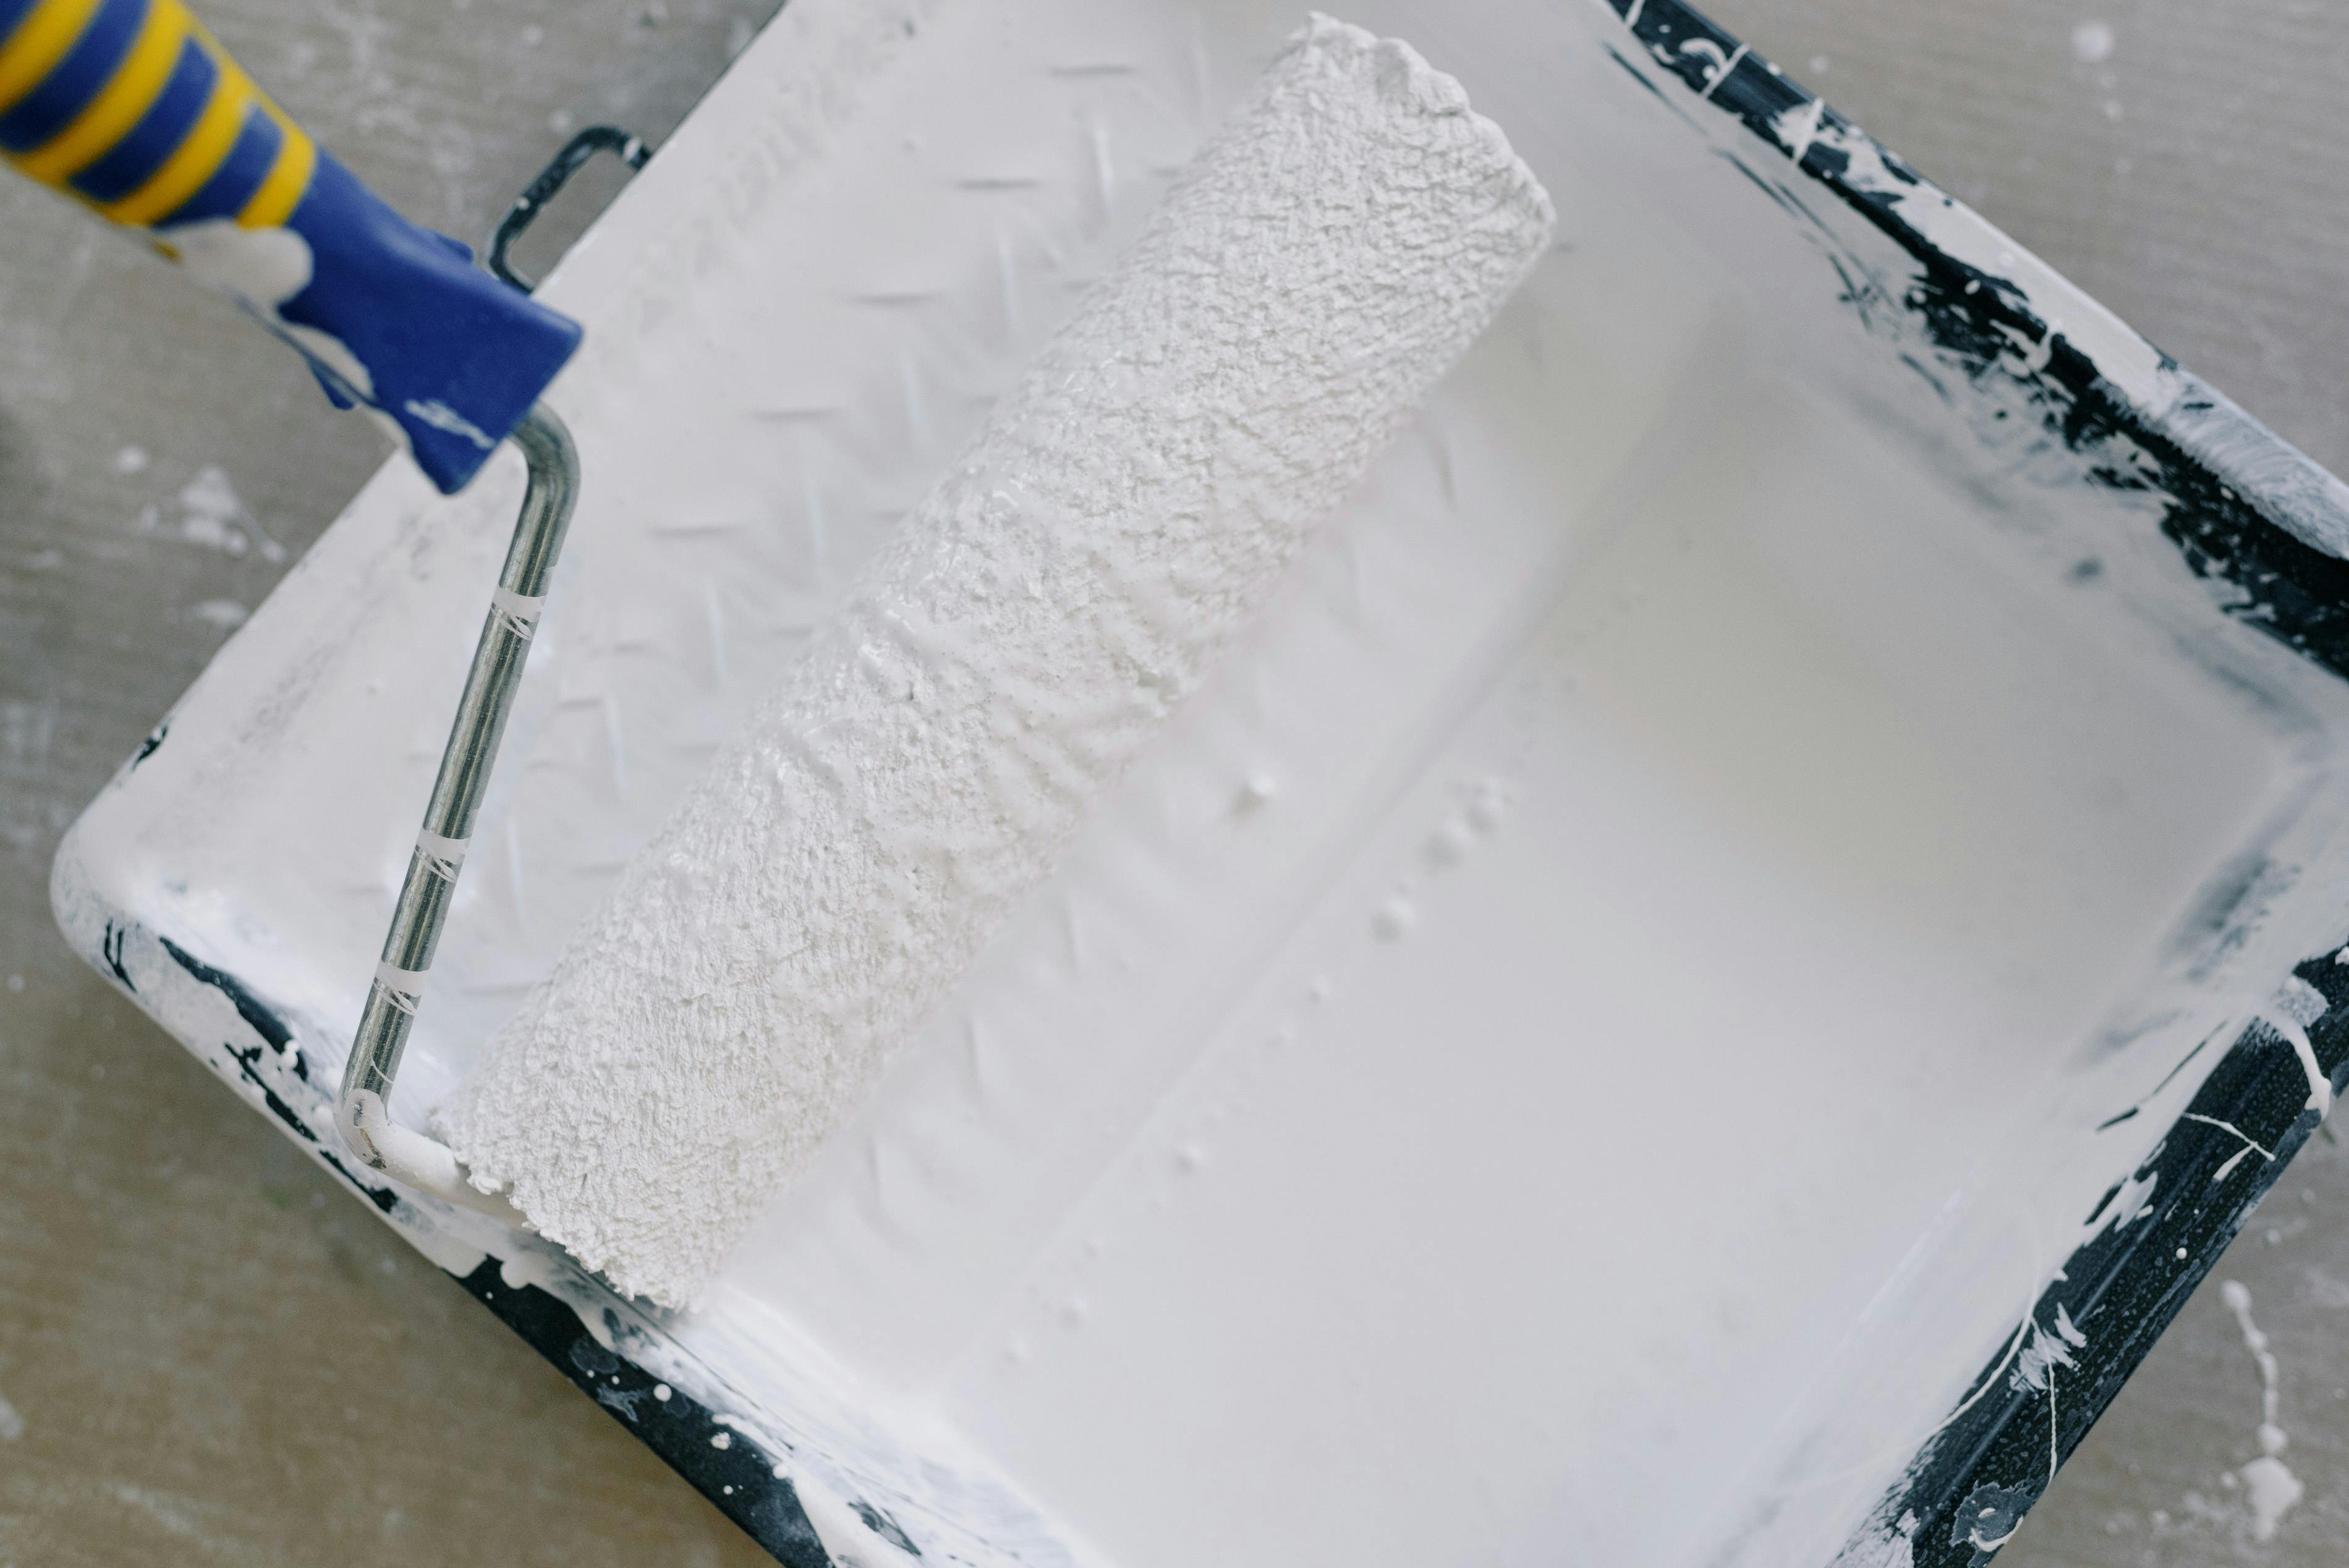
Filling cracks properly
Hairline cracks are common on render and shouldn't cause alarm, but they do need filling before painting, both for appearance and because an unfilled crack gives water a direct route into the wall. Use a proper exterior masonry filler, not an interior filler, which won't cope with outdoor conditions, and follow the manufacturer's guidance on cure time before painting over it. Larger or structural cracks (wider than a few millimetres, or accompanied by other signs of movement) are worth having assessed rather than simply filled, cosmetic filling won't address an underlying structural issue.
When do you need a stabilising solution?
A stabilising solution isn't needed on every job, and using it unnecessarily just adds cost and time without benefit. It's specifically for bare, porous, chalky or heavily weathered masonry, surfaces where the material itself is loose, dusty or has uneven absorbency. Applying a stabiliser first binds this loose material together and evens out how the surface takes paint, giving a more consistent, better-adhering finish. If your wall is already soundly painted in reasonable condition, and you're simply refreshing the colour or topping up protection, you can typically skip the stabiliser and go straight to your Sandtex coats. When in doubt, a small test patch will tell you quickly, if the surface feels chalky or dusty to the touch, or previous paint is coming away easily, a stabiliser is worth using.

Do you need a primer as well as a stabiliser?
For most masonry paint jobs, a stabilising solution on porous surfaces does the job a dedicated primer would on other paint types, it's not usually necessary to use both. Sandtex Smooth Masonry Paint is formulated to go straight onto correctly prepared masonry (bare and stabilised where needed, or sound and previously painted), without requiring a separate undercoat product in normal circumstances. If you're dealing with an unusual surface or a specific staining issue (persistent tannin bleed from certain masonry types, for instance), it's worth checking with a specialist product for that specific problem rather than assuming a generic primer will fix it.
Masking and protecting what you don't want painted
Good prep isn't only about the wall itself. Take time to mask windows, door frames, downpipes, outdoor lighting fixtures and anything else you don't want paint on, particularly if you're using a roller on a textured surface (which throws more spatter than a brush) or an airless sprayer (which throws considerably more). Dust sheets over paths, patios and any planting below the work area save a lot of clean-up time afterwards, and protect plants from paint splashes that can be difficult to remove without damaging leaves.
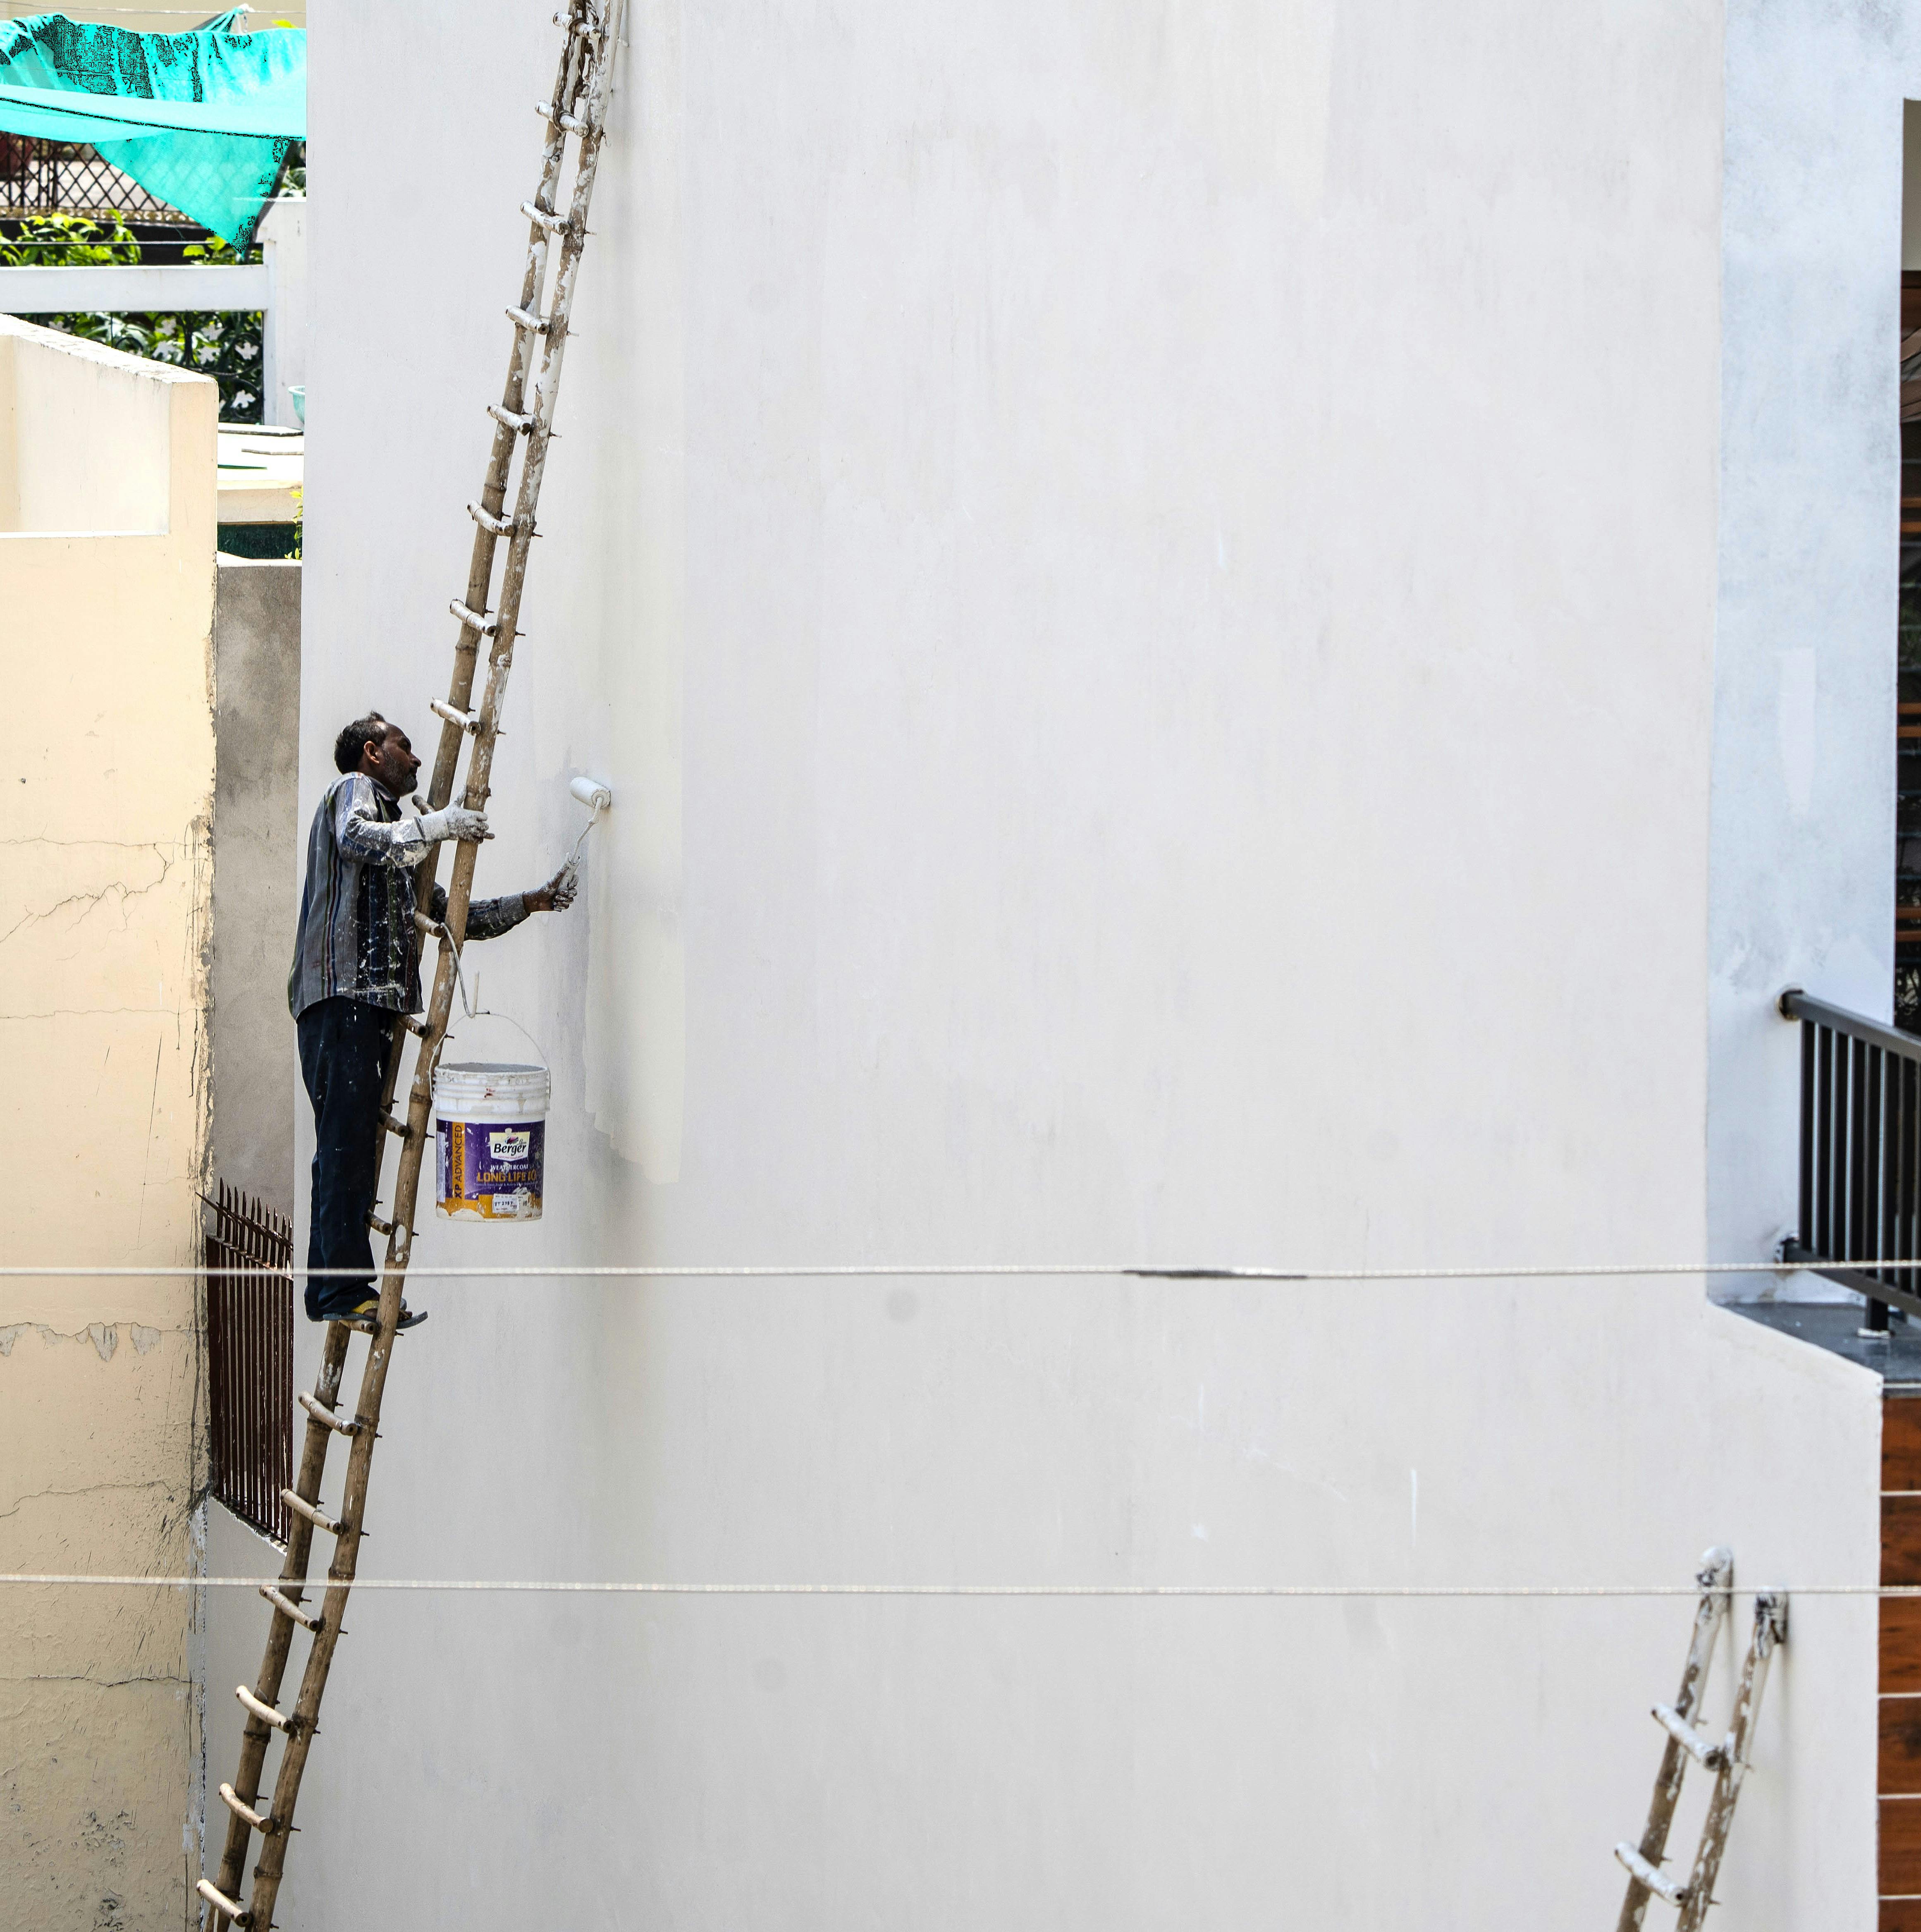
A realistic prep timeline
Rushing prep to get to the "satisfying" part of actually painting is a common mistake. A realistic timeline for a typical house wall includes a day for washing down and letting the surface dry fully, a separate day (or longer, depending on product dwell time) for fungicidal treatment if needed, time for filler to cure properly before painting over it, and a further day if a stabilising solution is required, since this also needs to dry before topcoats go on. For a wall with significant mould or heavy weathering, proper prep can easily take longer than the painting itself. Building this into your project timeline from the start avoids the temptation to skip steps under time pressure.
New render: why patience matters
If you're painting brand new render, resist the urge to paint too soon. Freshly applied render needs time to cure fully, typically several weeks to a few months depending on the render type, thickness and weather conditions, and painting it too early can trap moisture and lead to problems that are much harder to fix once painted over than a delay would have been. New render can also show efflorescence, a white, powdery salt deposit that appears as the render dries out, which should be brushed off (dry, not washed, washing can drive the salts back in) before painting, and may reappear a few times as the render continues to cure. Wait until efflorescence has stopped reappearing and the render has had its full recommended curing time before starting your Sandtex coats.
Tools worth having for prep work
A short, practical kit makes prep considerably easier: a stiff yard brush or wall brush for the initial clean-down, a garden hose or low-pressure washer, a stirring stick and bucket for mixing fungicidal wash or stabiliser, a flexible filling knife for masonry filler, coarse and fine abrasive paper for smoothing filled areas once cured, and good quality masking tape and dust sheets. None of this needs to be expensive or specialist, but having it ready before you start, rather than making repeated trips to the shop mid-job, keeps the whole process moving and reduces the temptation to skip a step because the right tool isn't to hand.
The payoff for doing it properly
Every hour spent on preparation is an hour that extends how long your finished paint job actually lasts. A wall that's been properly cleaned, treated for mould, filled and (where needed) stabilised gives Sandtex Smooth Masonry Paint the surface it's designed to perform on, letting the full 15-year durability of the range actually play out in practice, rather than being undermined by a shortcut taken at the prep stage. Once your wall is ready, browse the full range of colours and sizes on the Sandtex Masonry Paint collection page.
