


Painting a rendered, pebbledashed or roughcast exterior wall is one of those jobs that looks simple from the pavement and gets a lot more involved once you're up the ladder. Get the prep and the technique right, though, and a weekend with a roller and a few tins of Sandtex Masonry Paint can transform tired, weathered brickwork or a dull grey render into a wall that looks freshly built. This guide walks through the whole process, from checking the wall is actually ready to paint through to the final coat, using the same steps and drying times Sandtex itself recommends for its Smooth Masonry range.
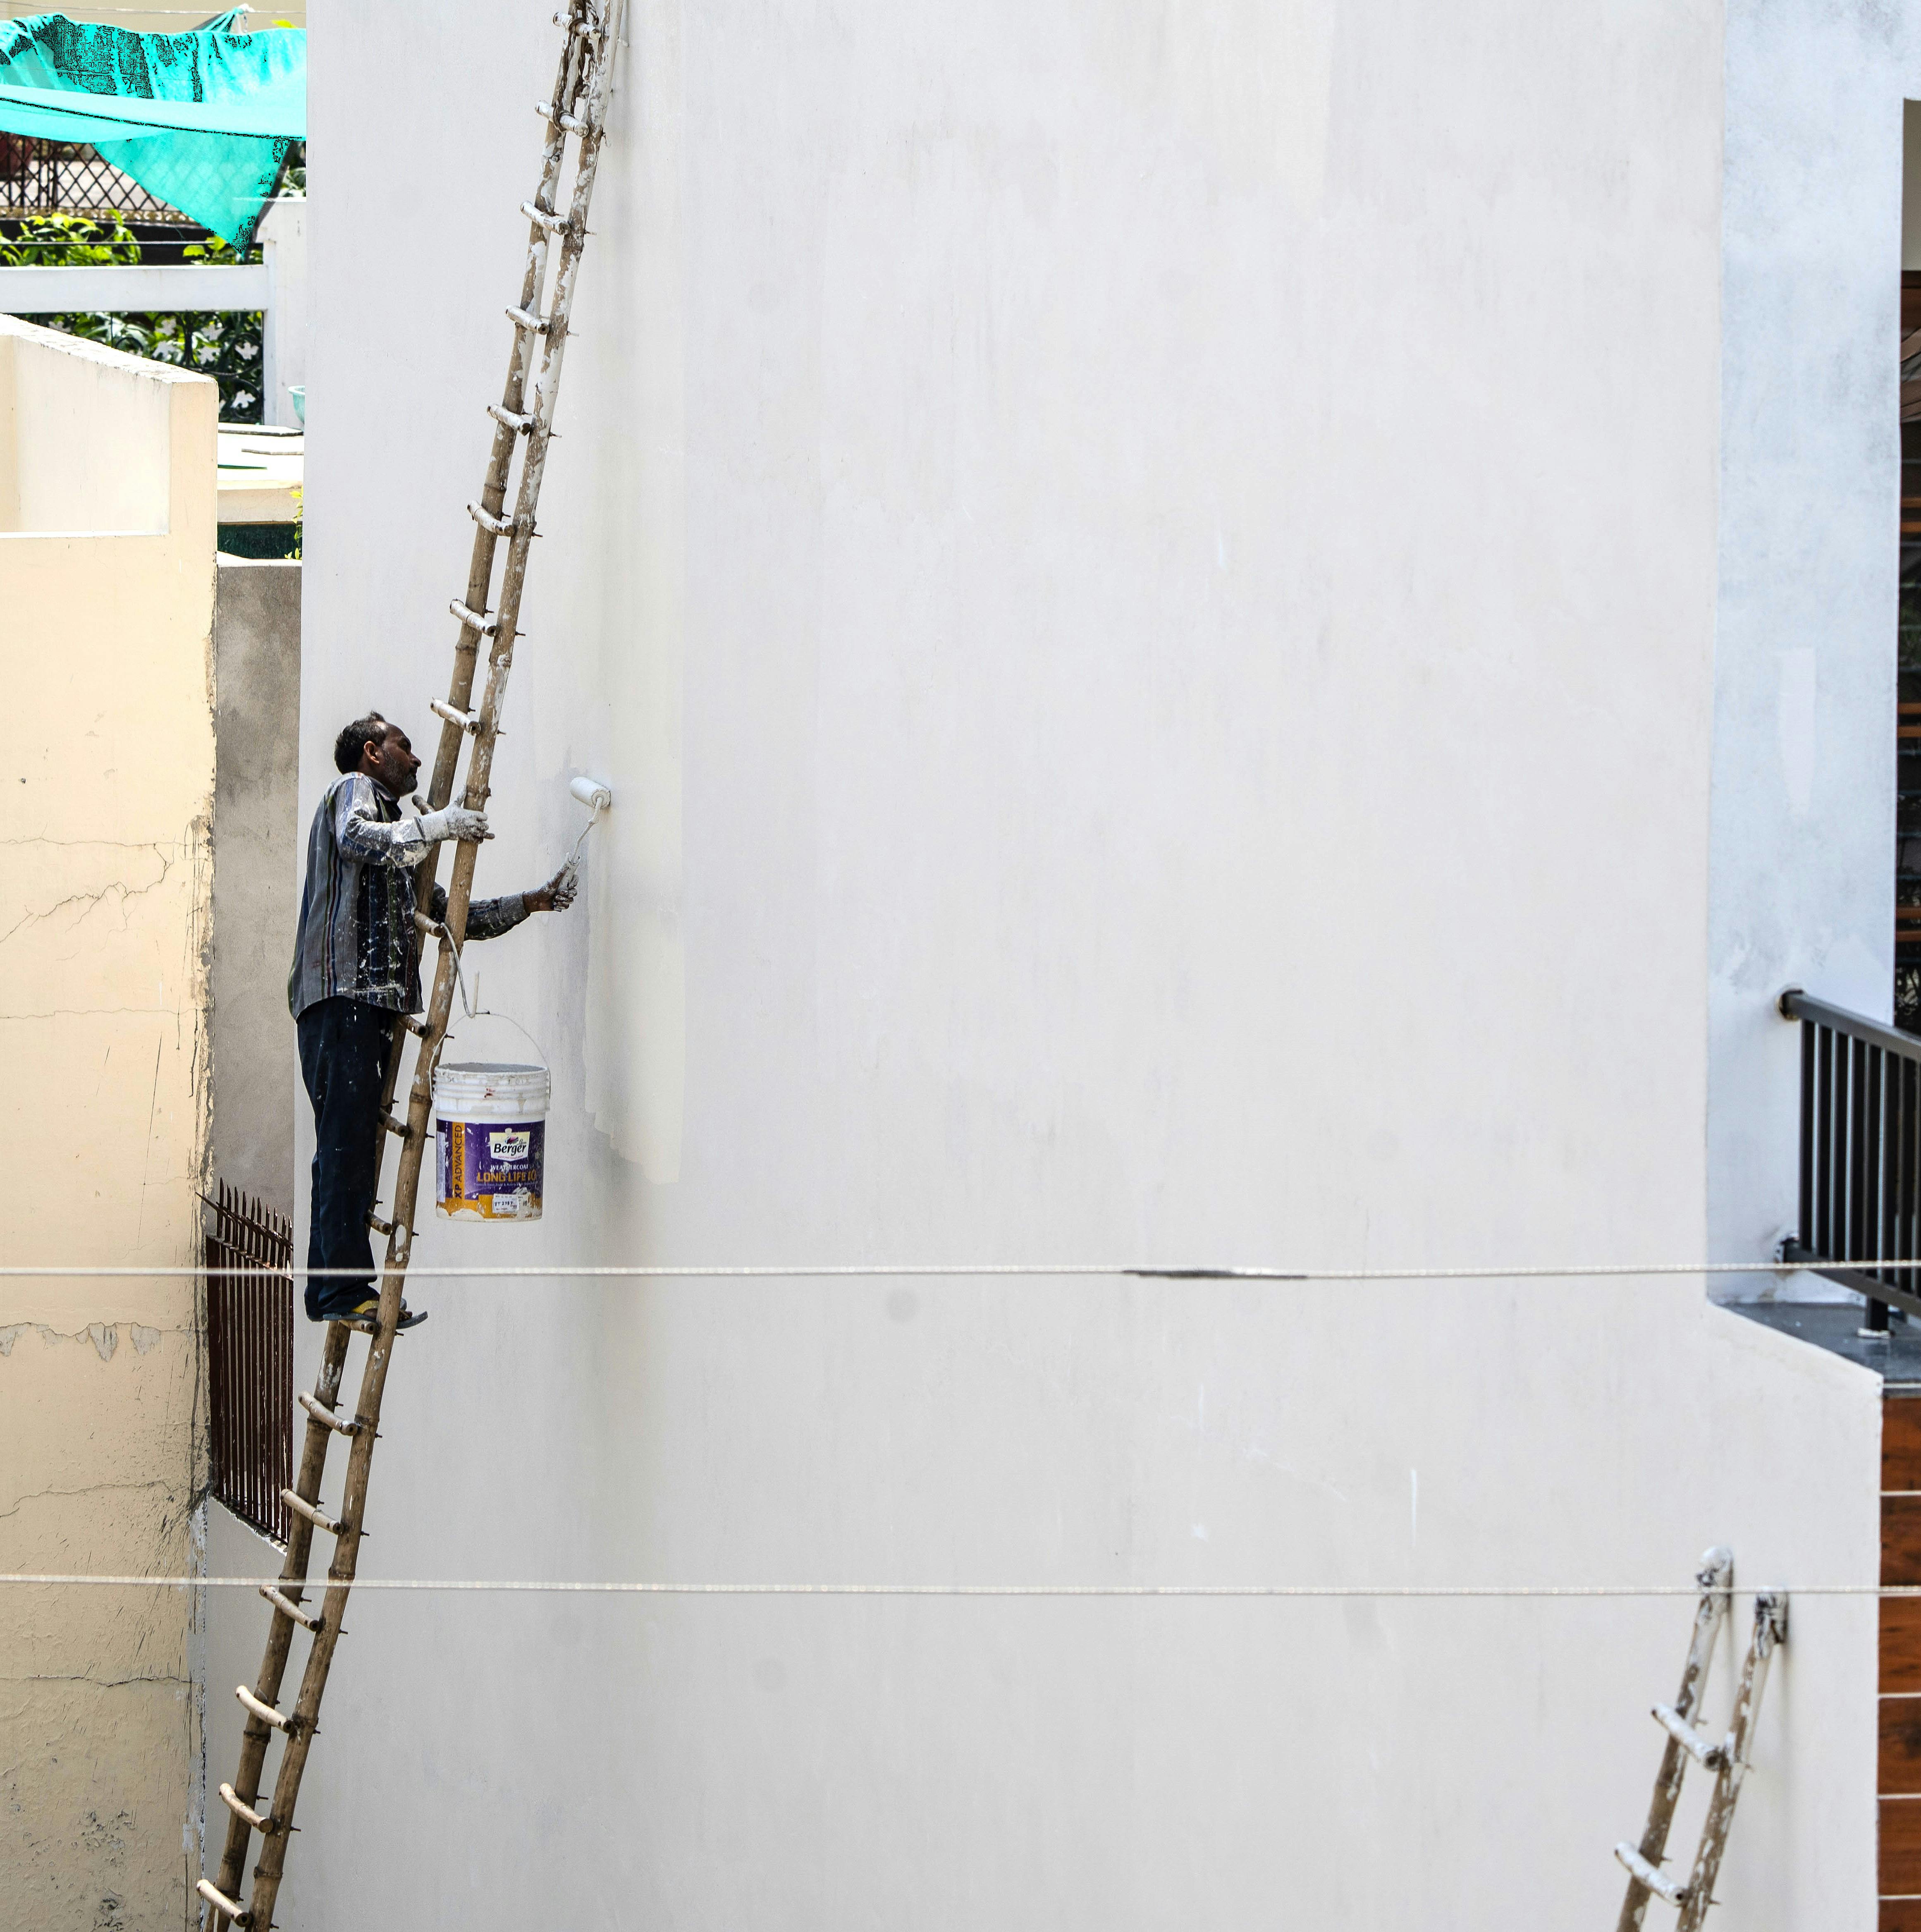
Before you start: is the wall ready to paint?
Not every exterior surface is a good candidate for masonry paint. Sandtex Smooth Masonry Paint is designed for render, roughcast, pebbledash, concrete, building blocks, facing brick and previously painted masonry. It isn't formulated for common, fletton or engineering-type brick (these are typically too dense to take the paint properly), and it isn't a wood or metal paint, so fences, timber cladding, gutters and downpipes need their own dedicated products, not a masonry finish.
Walk the wall at eye level and up close on a ladder before you buy your paint. Look for loose or flaking render, hairline or structural cracks, damp patches, and green or black mould staining. None of these rule out painting, but each one needs a specific fix before the first coat goes on, which brings us to prep.
Preparing the surface properly
Prep is the step people rush, and it's the step that decides whether your paint job lasts five years or fifteen. Start by brushing down the whole wall with a stiff broom or brush to remove cobwebs, loose dirt and flaking material, then rinse if it's particularly dusty or dirty and let it dry fully.
If you spot mould, algae or lichen (common on north-facing walls and anywhere overhung by trees), treat it with a proper fungicidal wash before you do anything else, and let the wall dry completely afterwards. Painting straight over active mould growth without treating it first is one of the most common reasons a masonry paint job looks patchy again within a year or two, the growth simply reappears through the new coat.
Next, fill any cracks with an appropriate masonry filler and let it cure according to the filler's instructions. For bare, chalky, powdery or heavily weathered surfaces, apply a stabilising solution first. This binds loose, dusty material together and evens out how the surface absorbs paint, giving you a much more consistent finish and better adhesion. On a sound wall that's already painted and in reasonable condition, you can usually skip the stabiliser and go straight to your Sandtex coats.
Choosing the right tools for the surface
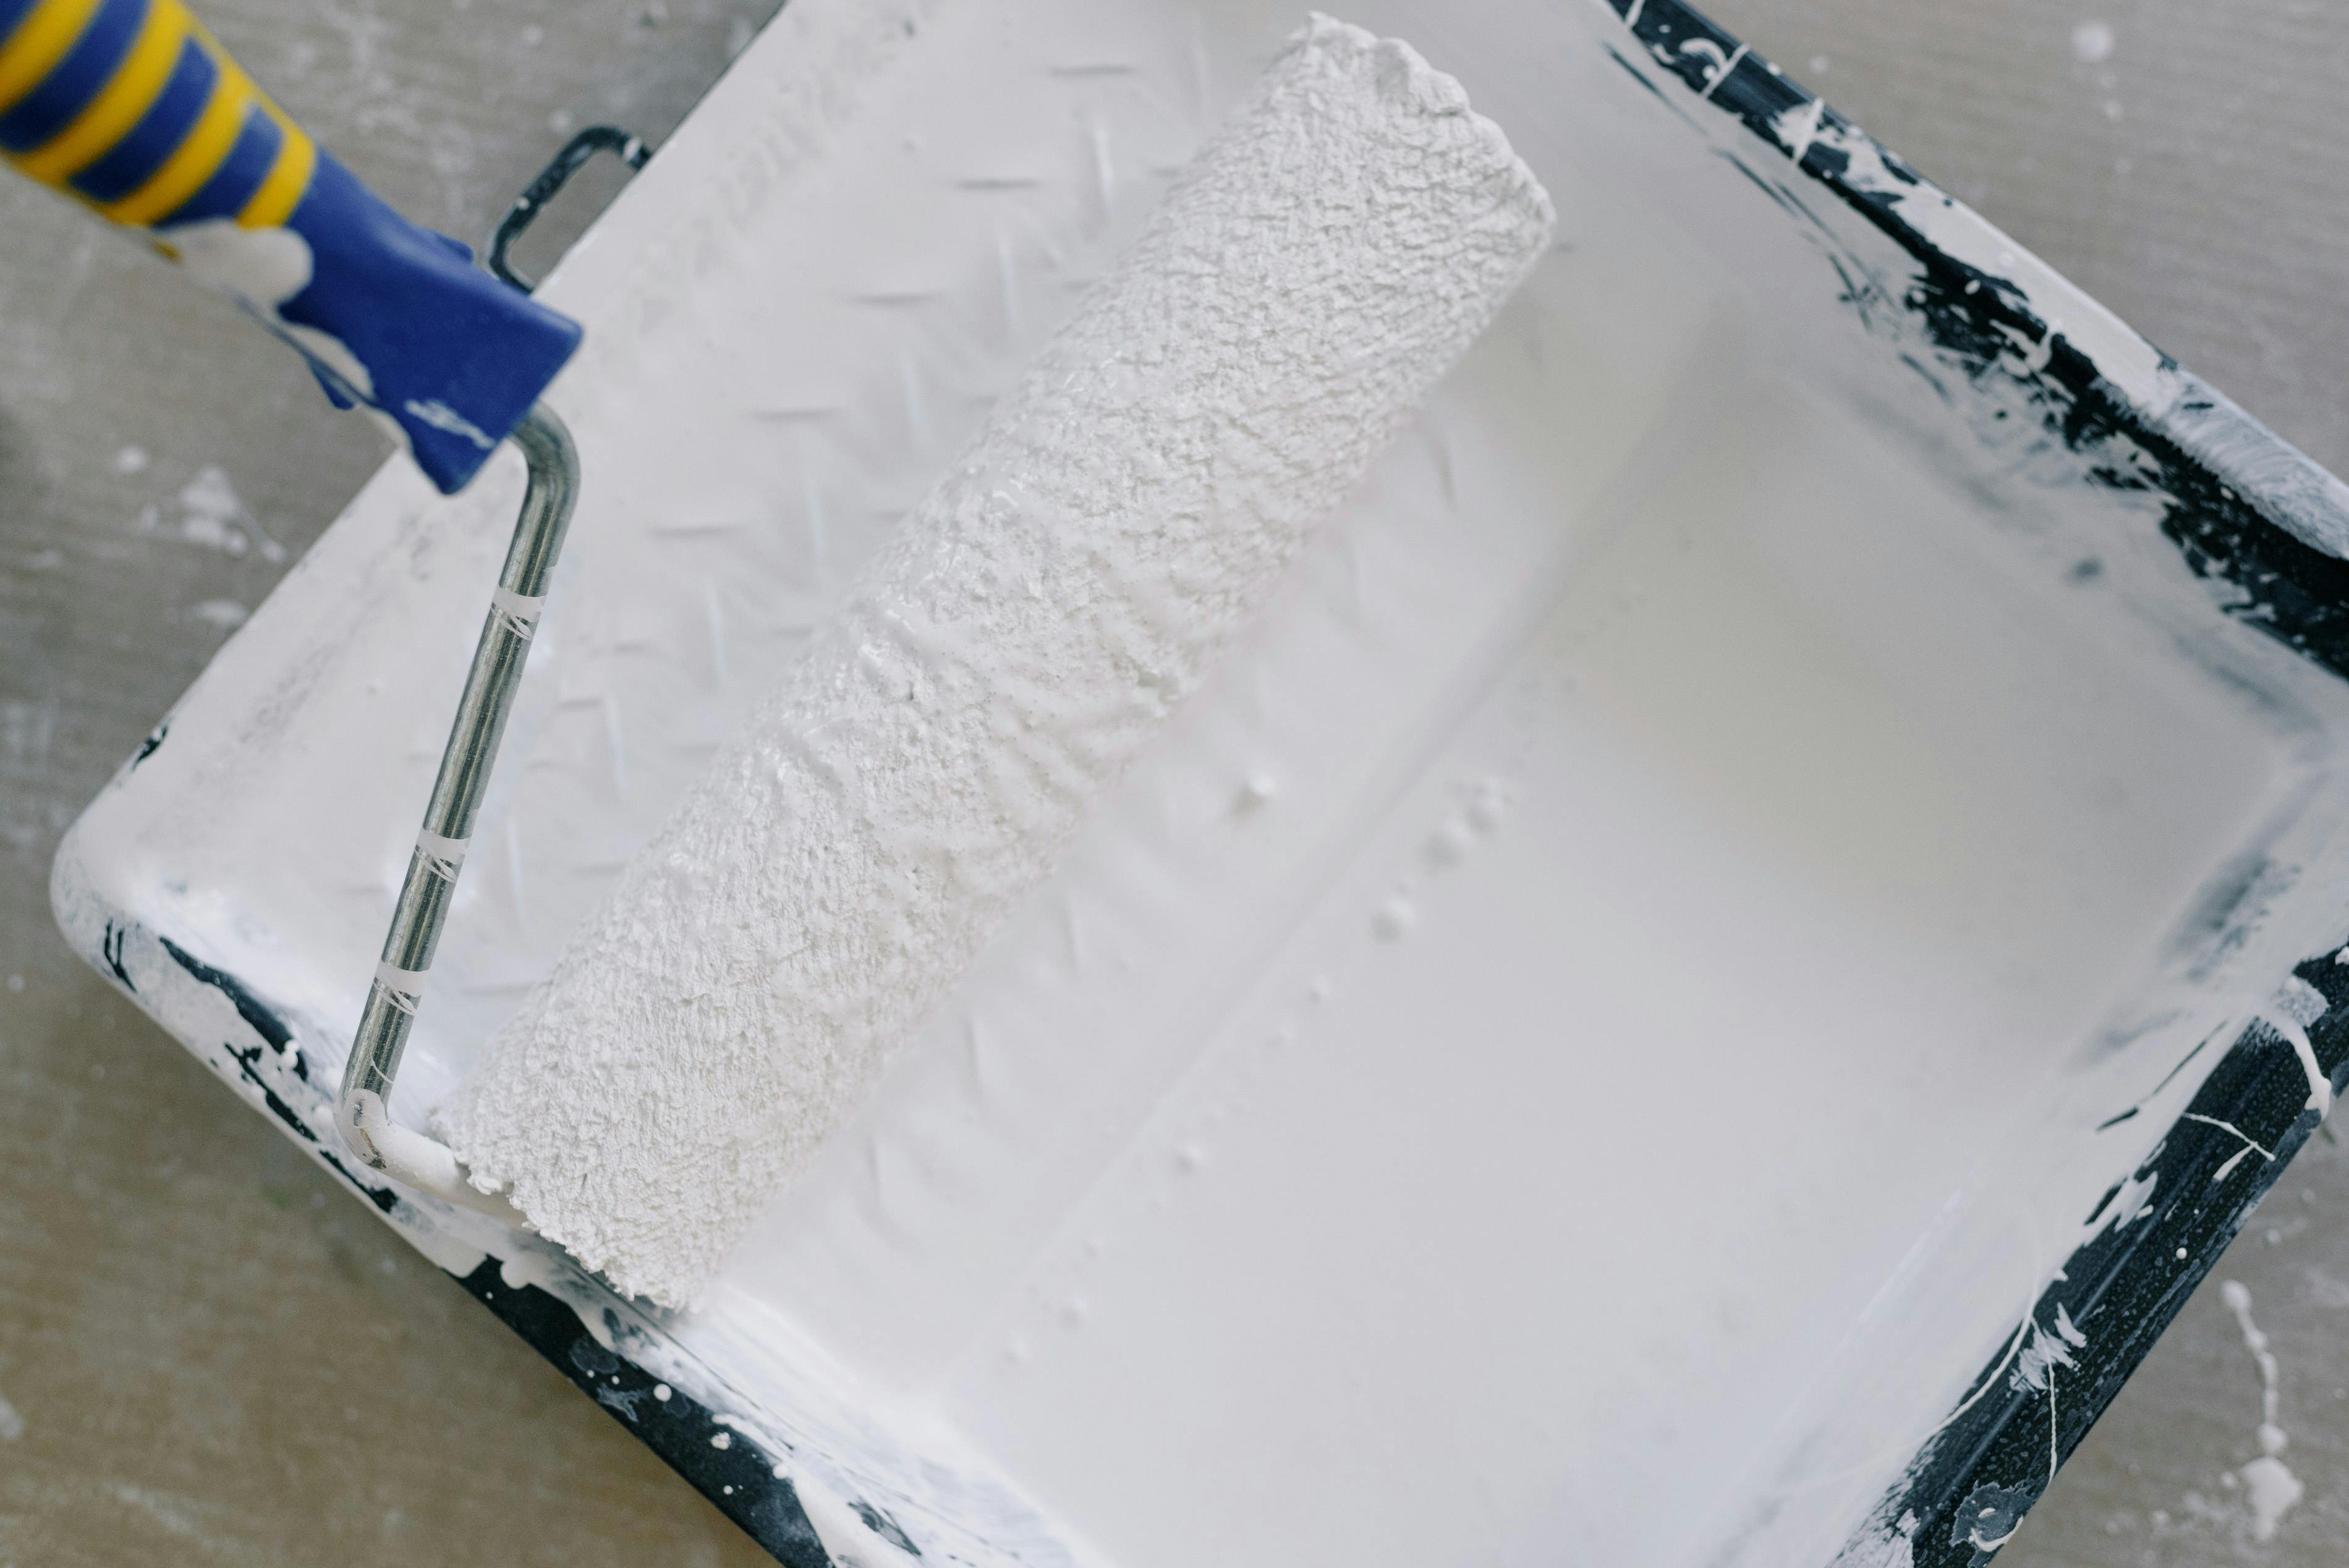
The texture of your wall should decide your applicator. A smooth render or previously painted flat surface works well with either a good masonry brush or a medium-pile roller. Textured surfaces like pebbledash and roughcast need a longer pile roller (or a brush for the awkward edges and corners) to properly work paint down into all the nooks between the stones. For large areas, an airless sprayer will get the job done considerably faster, though it uses more paint through overspray and needs careful masking of windows, doors and anything else nearby.
Whichever tool you choose, buy enough paint for two full coats before you start, running short mid-wall and trying to colour-match a top-up tin later is a headache worth avoiding, particularly with a colour range as broad as Sandtex's.
Step-by-step application
Once the wall is clean, dry and any repairs have cured, stir the paint thoroughly, it can settle in the tin, and inconsistent stirring shows up as patchiness once dry. Start at the top of the wall and work down and across in manageable sections, roughly a square metre or two at a time, keeping a wet edge as you go so you don't get visible overlap lines where a dried edge meets a fresh one.
Cut in carefully around windows, doors, downpipes and any fixtures with a brush before rolling the open areas, this gives a much neater line than trying to roller right up to an edge. Work methodically across the wall rather than jumping between sections, and step back regularly to check coverage in different light, morning and evening light in particular will show up thin patches that are invisible in flat midday sun.
How many coats, and how long between them?
Two full coats are recommended on bare or previously unpainted masonry to get full, even colour and the coating's full protective properties. If you're simply refreshing a sound wall already painted in a similar shade, one coat can sometimes be enough, but check the coverage carefully before deciding to stop at one. Sandtex Smooth Masonry Paint is touch dry in 3-4 hours and recoatable after 3-4 hours in good conditions, mild temperatures, low humidity and reasonable airflow. Cold, damp or still conditions will stretch these times out, so plan your second coat for the same day only if the weather is genuinely cooperating.
Weather conditions to watch for
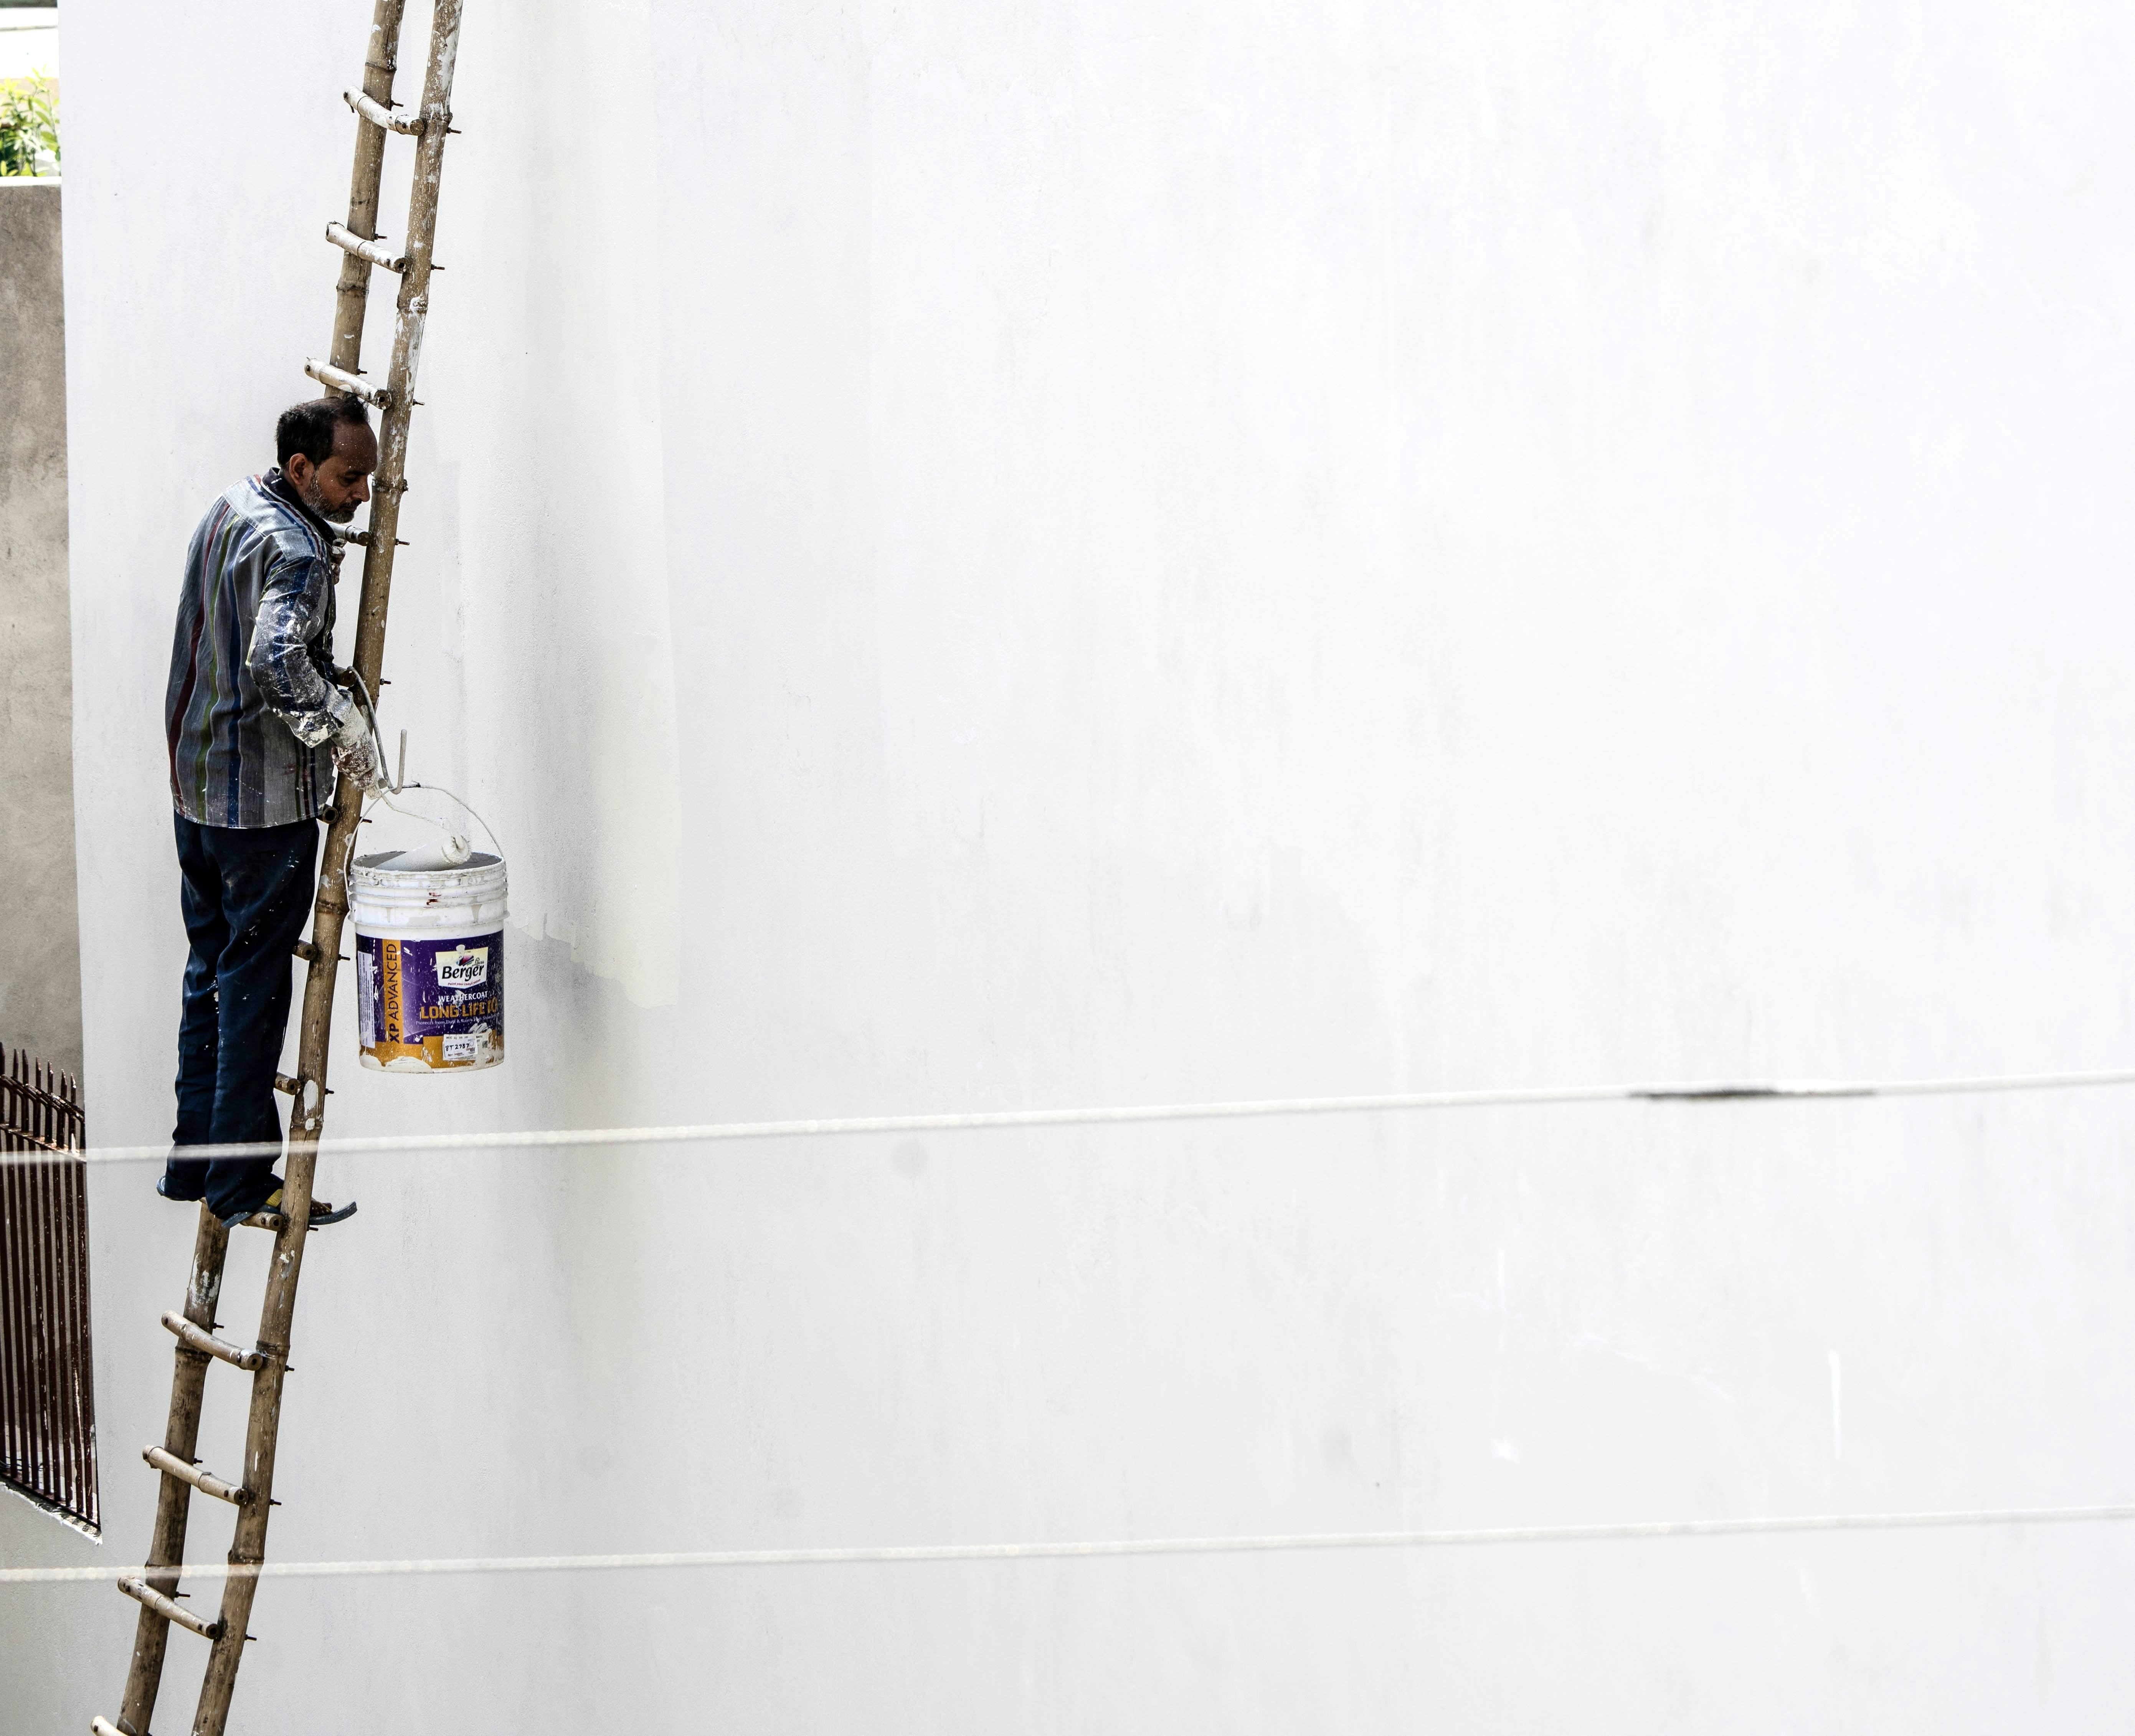
Exterior painting is genuinely weather-dependent in a way interior painting isn't. Avoid starting if rain is forecast within a few hours, Sandtex becomes rainproof roughly an hour after application in good conditions, but a downpour before that point can mark or wash the fresh film. Avoid painting in direct, intense sun on a hot wall too, the paint can dry too fast at the surface before it's properly bonded underneath, leading to a weaker finish. And don't paint if the temperature is set to drop below 8°C while the paint is drying, cold slows curing right down and can affect how well the coating performs long-term. A mild, dry, slightly overcast day with a light breeze is close to ideal.
Common mistakes worth avoiding
A handful of small mistakes account for most disappointing masonry paint jobs. Skipping the mould treatment is the big one, as covered above. Painting a single coat on bare masonry to save time or paint is another, the colour usually looks patchy and the wall isn't getting the full protective film it needs. Thinning the paint unnecessarily is a third, Sandtex Masonry Paint is designed to be used straight from the tin for brush and roller work, and adding water weakens the film and reduces both coverage and durability. Finally, painting timber window sills, fascias or fencing with masonry paint because it's what's already open on the ladder, remember, this is a masonry-specific product and won't perform the same way on wood.
Testing your colour before committing
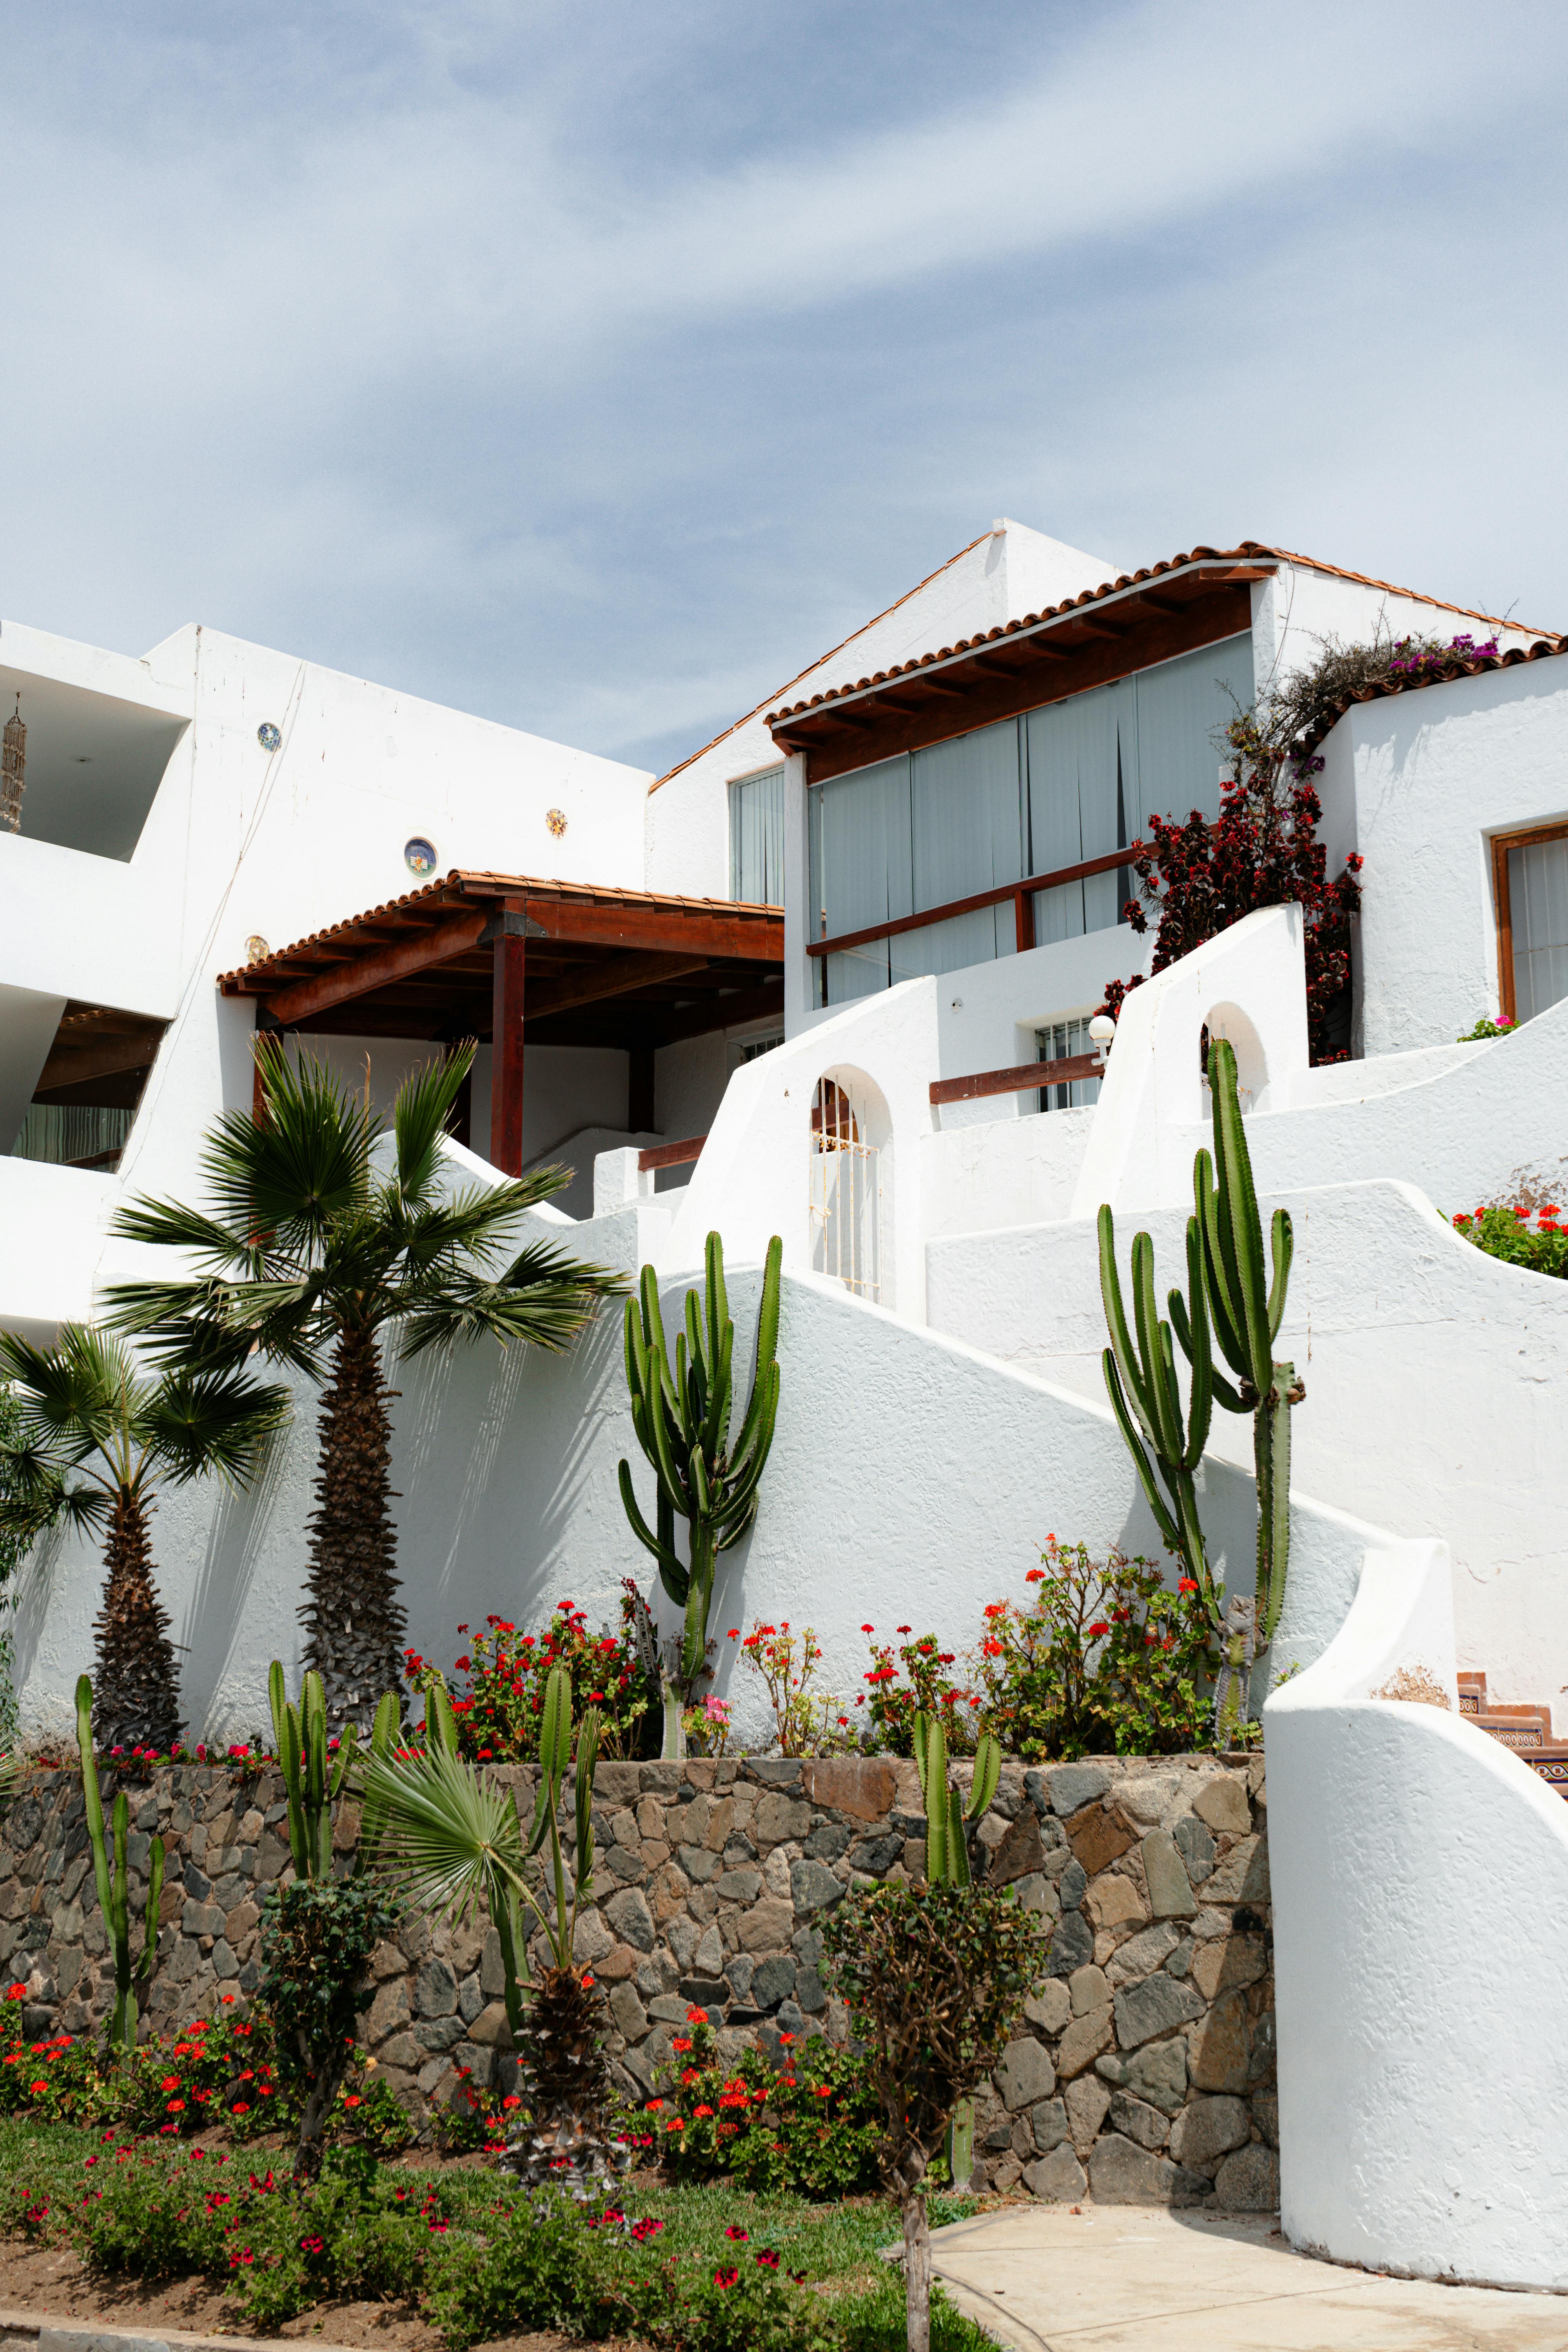
Exterior colour is genuinely difficult to judge from a small swatch or a screen, render and pebbledash both catch light very differently to a smooth painted sample, and the same shade can look noticeably lighter or darker depending on the wall's orientation and the surrounding brickwork or roofline. Sandtex is sold in 150ml testers specifically for this reason. Paint a section roughly a metre square in a spot you can see from the street and from inside the house, and check it at a few different times of day, morning light, midday sun and early evening all show a colour slightly differently. It's a small step that avoids the far bigger job of repainting an entire wall in the wrong shade.
Tools and materials checklist
Before you climb the ladder, it helps to have everything to hand rather than discovering halfway through a section that you're missing something. For a typical job you'll want: enough Sandtex Masonry Paint for two full coats (check your wall's approximate area against the coverage rate on the tin), a stiff brush or broom for the initial clean-down, fungicidal wash if there's any mould or algae present, masonry filler for cracks, stabilising solution if the surface is bare or chalky, a good masonry brush for cutting in around edges, a roller with the appropriate pile length for your wall's texture (or an airless sprayer for larger jobs), a sturdy, well-footed ladder or tower, dust sheets or masking for anything you don't want overspray on, and a stirring stick. Having it all ready before you start means you're not making a paint-covered dash to the shop halfway through a coat.
Finishing up
Once your second coat is dry, clean your brushes and rollers with warm soapy water while the paint is still fresh, Sandtex Smooth Masonry Paint is a water-based acrylic formula, so there's no need for white spirit or specialist cleaners. Store any leftover paint somewhere frost-free with the lid firmly sealed for touch-ups down the line, matching an exact colour years later is far easier with the same tin than trying to recall a shade name.
Done properly, this is a job that should protect and hold its colour for years rather than months. Browse the full range of colours and sizes, from 150ml testers for trying a shade on the wall first, up to 10L trade tins for a full house, on the Sandtex Masonry Paint collection page.
