


A Purdy roller frame is built to last for years, but even the toughest cage and handle assembly benefits from being taken apart now and then. Paint dries in the gaps around the bearings, grit works into the cam lock, and a sleeve left on for months can seize onto the wires and refuse to budge. Learning how to take apart a Purdy roller cage properly means you can clean every part and get the frame spinning like new. This guide covers the process for the Purdy Revolution Frame and the Purdy adjustable roller frame, including the open cage design and cam lock mechanism used on wider models.
Why Take a Roller Frame Apart
Most painters only think about their roller sleeve, but the purdy roller frame underneath does just as much work. It holds the sleeve steady, lets it spin freely, and channels paint evenly across the nap. Over time, paint builds up around the wire cage, end cap, and bearing where the handle meets the frame. Left alone, that residue hardens and drags on the wall, leaving stipple marks.
Taking the frame apart also lets you check the cam lock or end cap for cracks and inspect the cage wires for bent sections. A purdy frame roller that gets a proper strip down every few months will outlast one only ever rinsed under a tap with the sleeve still attached, and it is the only way to reach the corners where old paint hides on frames used with masonry or textured coatings.

Tools You Will Need
You do not need a workshop full of equipment, just a few basics that make the job faster and protect the frame from damage.
- A stiff bristle brush or old toothbrush for scrubbing dried paint out of the cage
- Warm water and a mild detergent, or a proper brush and roller cleaner for oil based paint
- A soft cloth or paper towel for drying each part fully
- A small flathead screwdriver, useful for gently prising a stuck end cap
- A pair of pliers with a soft jaw, kept in reserve for a cam lock that has seized shut
- A dust mask and gloves if you are dealing with old, flaking paint
Lay everything out on a clean, flat surface before you start. A cluttered bench is how small springs and end caps end up lost, and the cam lock on an adjustable frame has parts that are easy to misplace if you rush.
Step by Step Disassembly
Remove the Roller Sleeve First
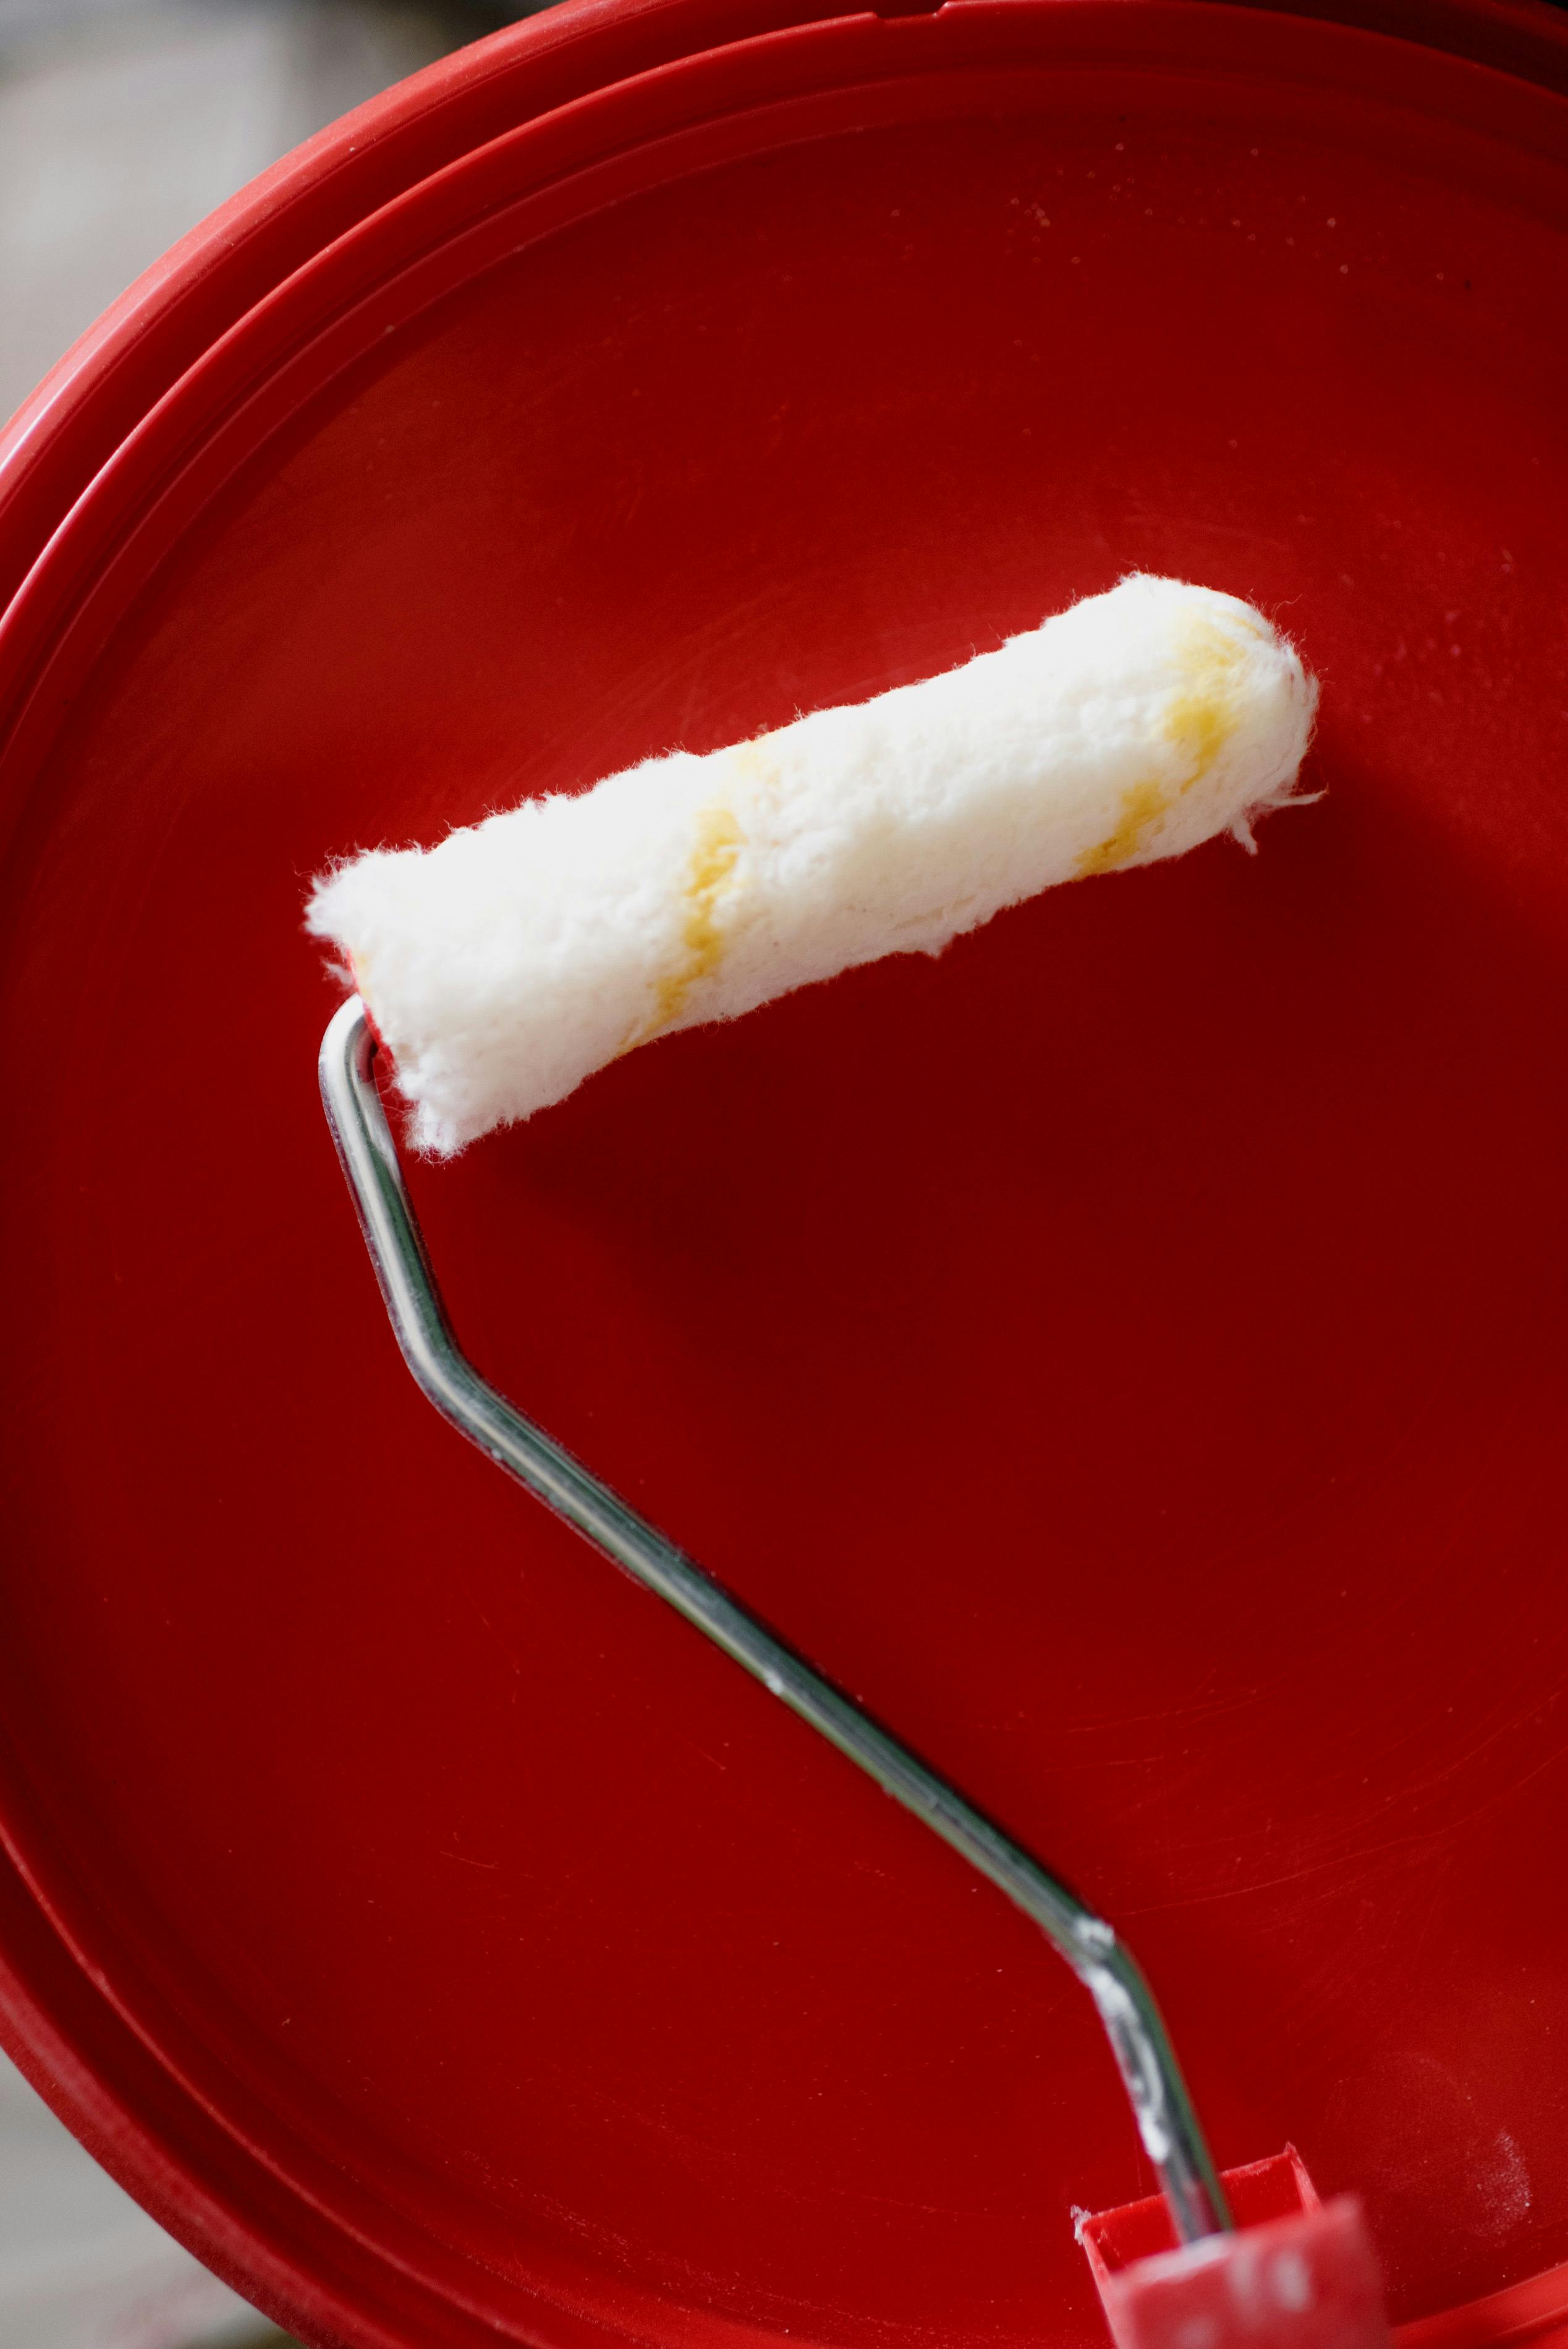
Always start by sliding the sleeve off the cage. Hold the handle in one hand and pull the sleeve straight off the wires with the other, rather than twisting it, which can bend the cage. If the sleeve is stuck fast with dried paint, do not force it. Run warm water through the nap to soften the residue, or work a little roller cleaner into the join. A sleeve like the Purdy Colossus Roller Sleeve swaps in and out easily, so if yours has hardened beyond saving, this is a good moment to fit a fresh one.
Release the Cam Lock or End Cap
This is where the process differs depending on which frame you own. The Purdy Revolution Frame uses an open cage design with an end cap at the tip of the wires. Grip the end cap firmly and turn it counterclockwise, or press the small release tab if your model has one, and it should slide free from the cage. On a purdy adjustable roller frame, look for the cam lock lever near the collar where the frame meets the handle. Flip the lever open and the sliding sleeve support loosens, letting the assembly extend or retract. Do this over your workbench so you can catch small components as they come loose.
Separate the Cage from the Handle
Once the end cap or cam lock is released, the wire cage should pull straight out of the handle socket. Some frames are a simple friction fit, so a firm, even pull is all that is needed. Others thread on, in which case turn the cage counterclockwise while holding the handle steady. Avoid twisting the wires themselves, since bent cage arms are a main reason a frame starts to wobble. If the handle has a swivel grip, unscrew this too for a deeper clean.
Taking Apart a Purdy Adjustable Roller Frame
The Purdy Adjustable Roller Frame has an extra step compared with a fixed frame, since it is built to expand and contract to fit different sleeve widths. After the cam lock is open, slide the two halves of the telescoping arm apart fully. You will usually find a smaller detent pin holding the width adjustment in place. Release this too and the arm comes apart into its sections. Keep the pieces together in a tray so nothing rolls off the bench.

Cleaning the Cage and Handle
Clean each part individually rather than scrubbing the whole assembly at once. Submerge the wire cage in warm soapy water and work the bristle brush through every gap, paying attention to where the wires meet the end cap and the axle, since paint collects there first. Water based emulsion usually rinses away easily, but oil based paint or masonry coatings need a dedicated cleaner to cut through residue and protect the metal from corrosion.
The handle rarely needs more than a wipe down, but check the bearing where it meets the cage for grit, since this is what lets the roller spin freely. A cotton bud reaches this recess well. If your frame has a cam lock, brush around the lever and rail dry first, since damp grit can work further into the mechanism. Dry every component fully and leave the parts on a towel for a few hours before reassembling, since trapped moisture encourages rust.
Reassembling Your Roller Frame Correctly
Reassembly is the reverse of taking the frame apart, but a couple of details matter. Line the wire cage up with the handle socket and push it home fully before locking the end cap back into place, checking it clicks or turns snugly rather than sitting loose. On an adjustable frame, slide the telescoping sections back together, set the width to match the sleeve, and flip the cam lock closed so it holds firmly under pressure. Give the cage a spin by hand before fitting a sleeve. It should turn smoothly with no wobble.
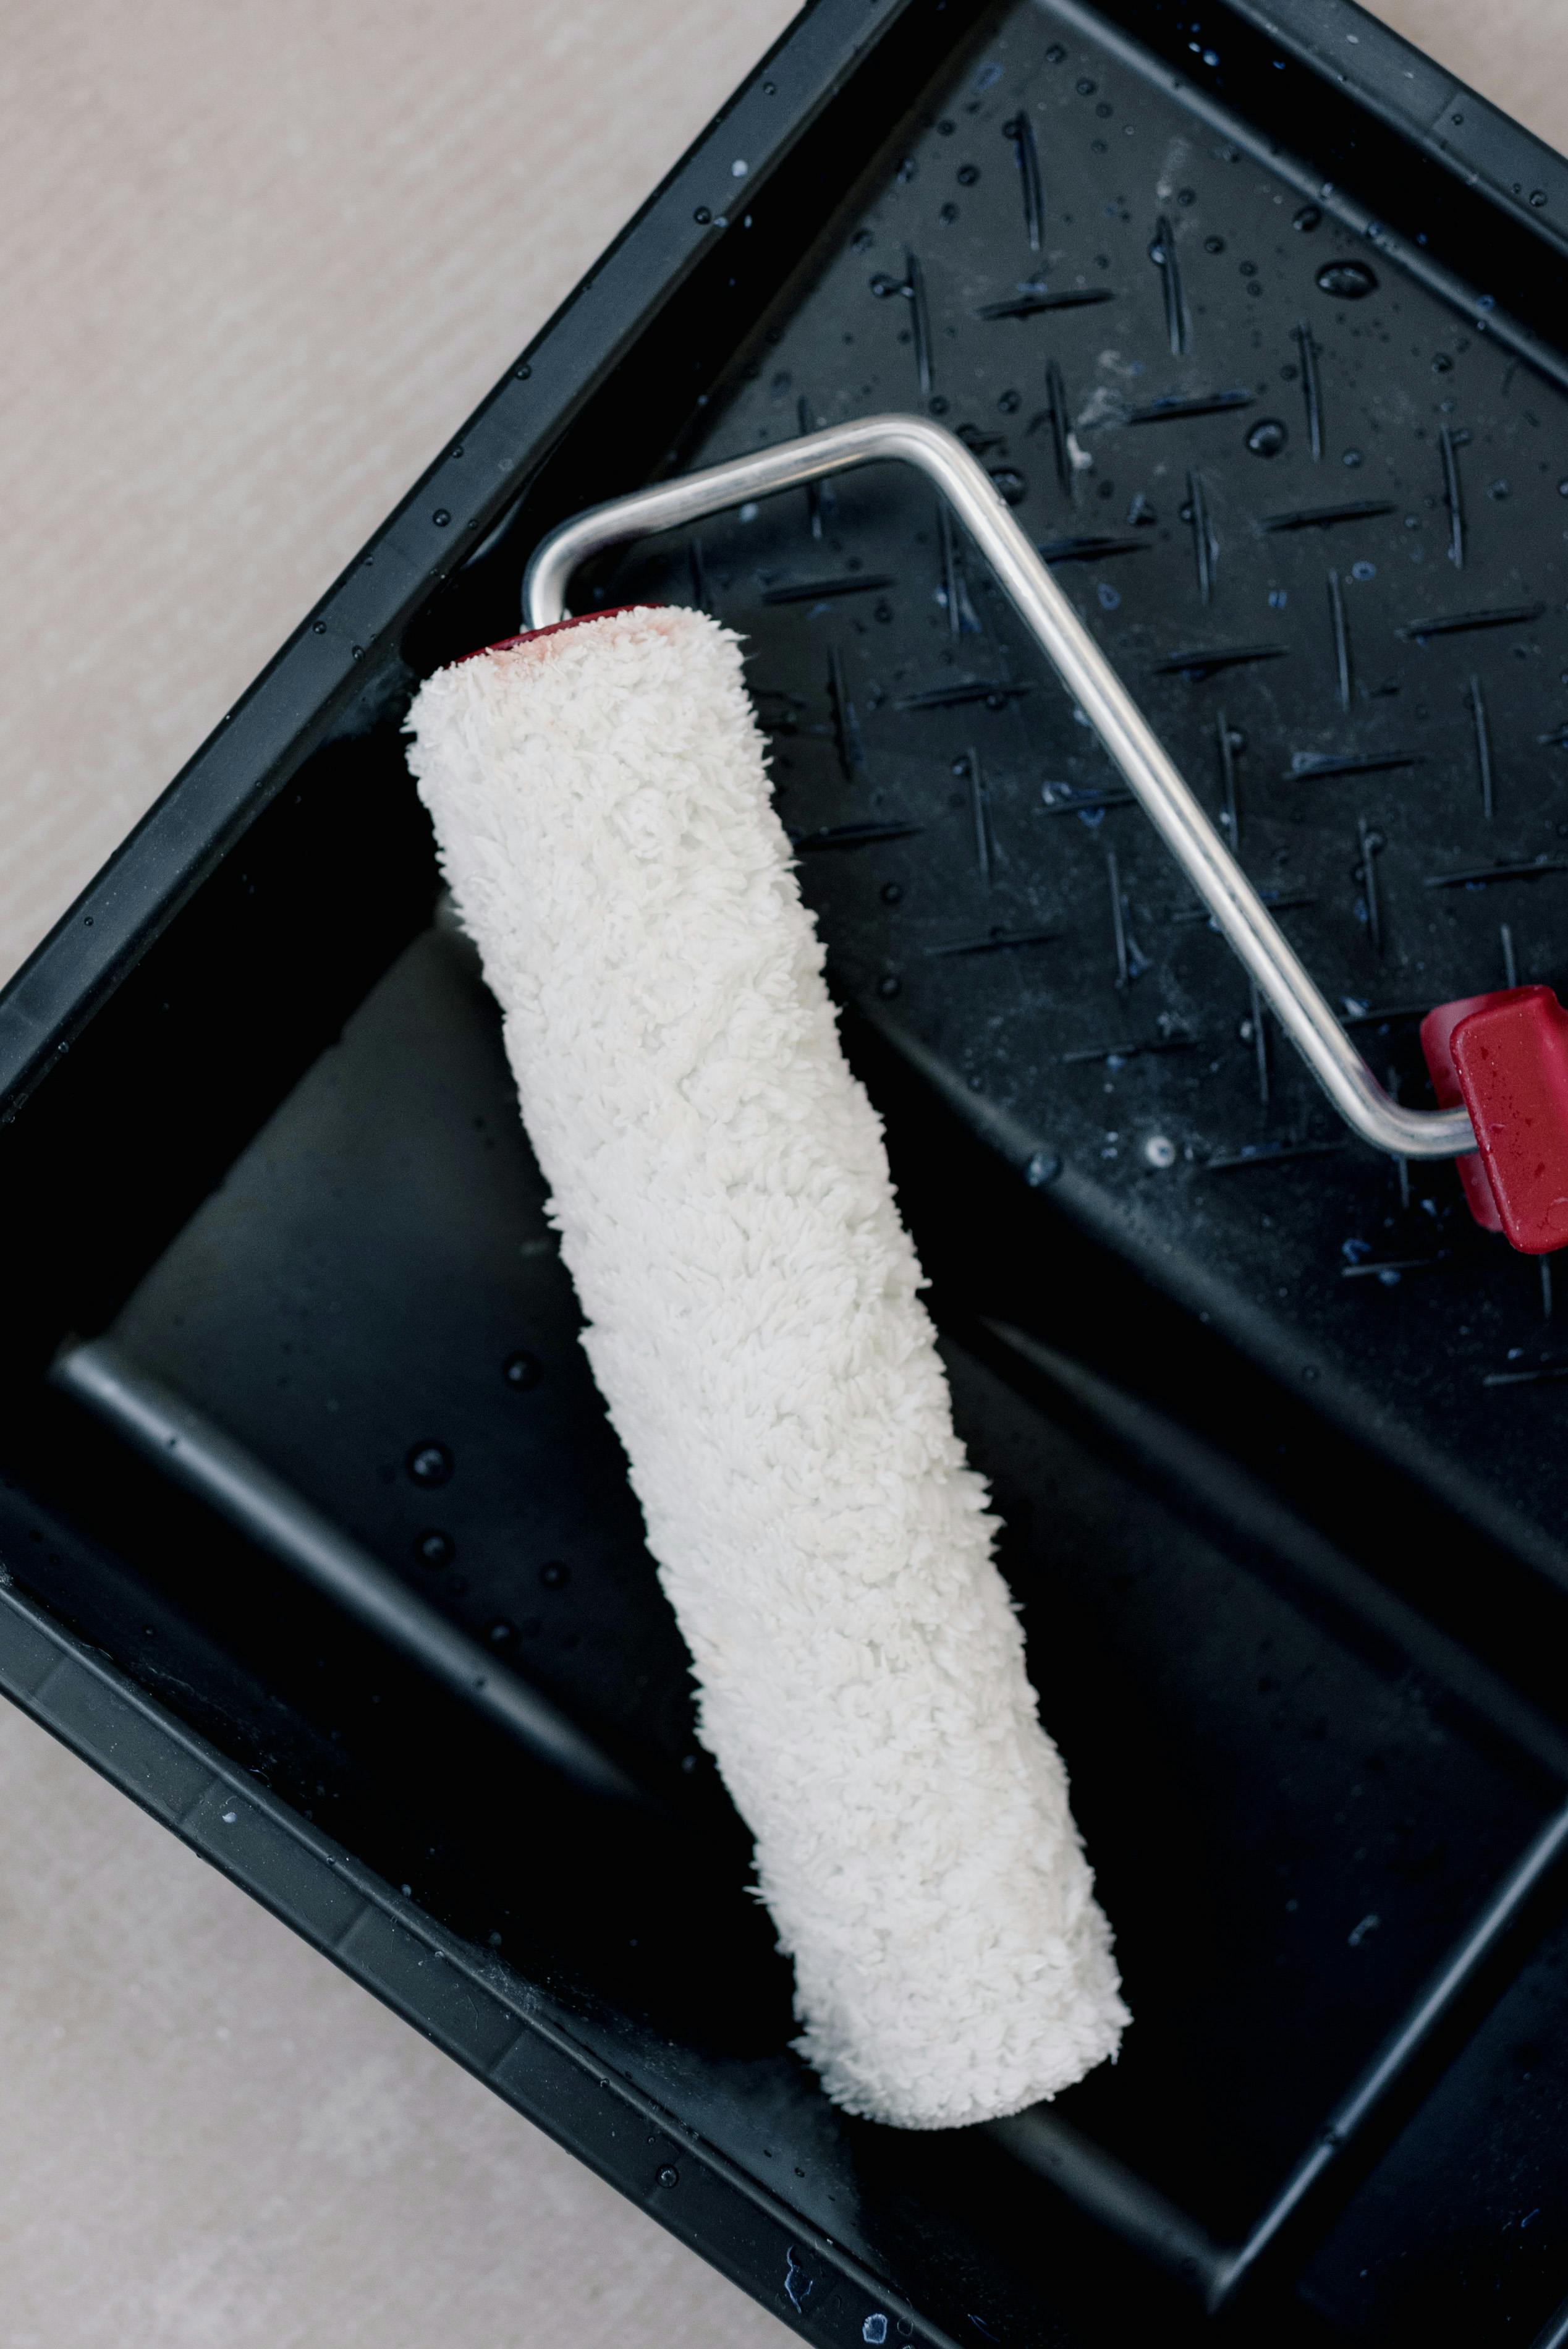
Once you are happy the frame spins freely, slide the sleeve back on, or fit a new one such as the Purdy White Dove Roller Sleeve for finer finishes or the Purdy Marathon Roller Sleeve for heavier masonry work. If you use an extension pole, screw a Purdy Powerlock Extension Pole onto the handle now, before you start painting, so you are not fumbling with a wet roller later.
When to Replace a Frame Instead of Repairing It
A good frame can be stripped down and cleaned dozens of times, but there comes a point where repairing it stops making sense. If the wire cage is visibly bent or an arm has snapped, the roller will never spin true again, no matter how well you clean it. A cam lock that no longer holds its position, even after cleaning and light lubrication, has usually worn past a reliable fix. Rust that has pitted the wires is another sign to retire the frame, since it will only spread and transfer flecks of corrosion into your paint.
If you paint regularly, keeping a spare on hand is worth it. A Purdy Revolution Roller Frame is light enough for everyday interior work, while the Purdy Revolution Jumbo Mini Roller Frame suits smaller trim jobs. For wider coverage, a Purdy Revolution Roller Frame in the 14 inch size or a full purdy adjustable roller frame gives you the flexibility to switch sleeve widths without buying a new setup.
Frequently Asked Questions
How do you take apart a Purdy roller frame?
Remove the sleeve, then release the end cap or cam lock at the tip of the cage. Pull or unscrew the wire cage away from the handle, and if the frame is adjustable, slide the telescoping sections apart and release the width lock. Clean each piece separately before putting the frame back together.
How do you take apart a Purdy roller cage?
The cage detaches once the end cap is released. On most Purdy frames this means turning or unclipping the cap at the closed end of the wires, then pulling the cage straight out of the handle socket. Avoid twisting the wires as you remove it, since this causes long term wobble.
How do you take apart a Purdy roller?
If you mean the whole roller, including sleeve, cage, and handle, work through it in stages. Slide the sleeve off first, release the cam lock or end cap, separate the cage from the handle, and unscrew any extension pole. Each part can then be cleaned before you rebuild the roller in reverse order.
